“This Means War”- My Doctor Who War Doctor cosplay Part 2
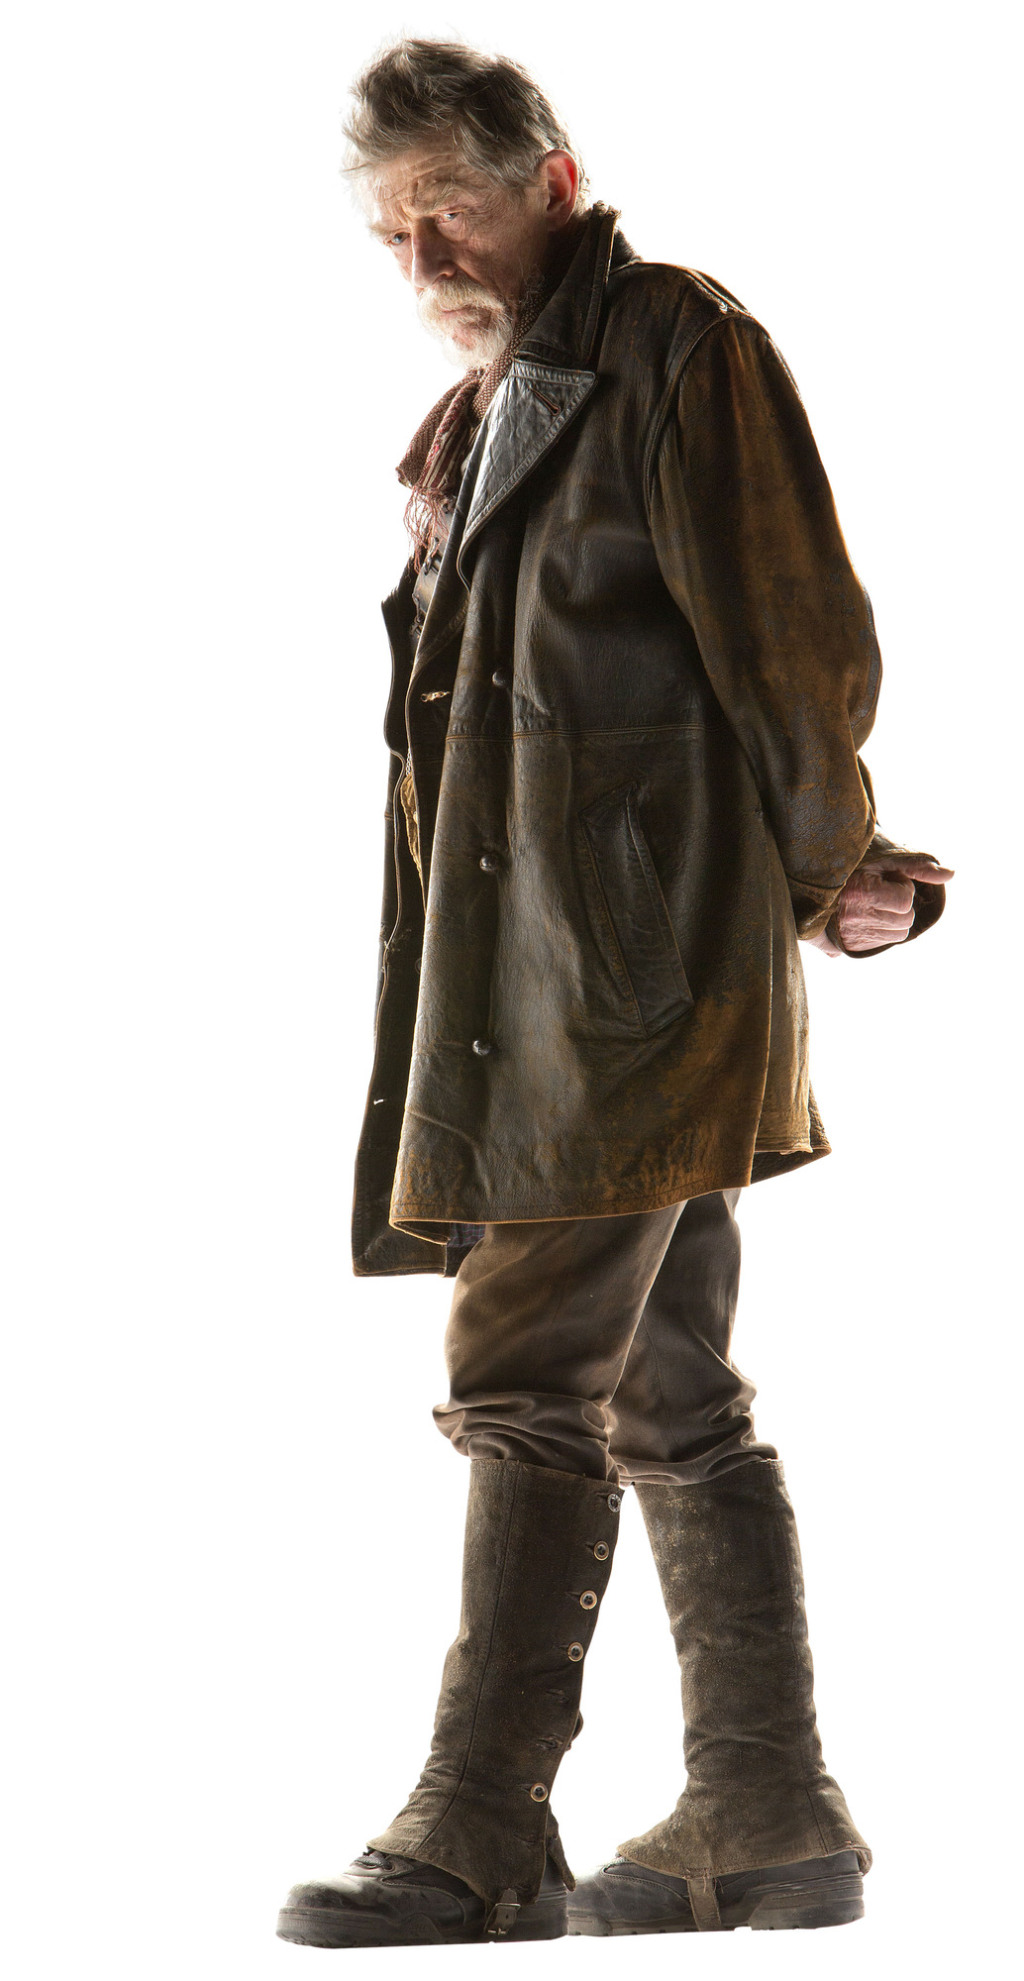
While updating my website this week I realized I never did a follow up to my Doctor Who: The Day of the Doctor War Doctor cosplay project. I told you all how I got started 2 years ago in my “This Means War”- My Doctor Who War Doctor cosplay Part 1 blog post, but never showed how the final costume turned out. I covered where I got some of my items in that blog, but will be going over more of how I put the costume together here, as well as some con shots of me wearing it.
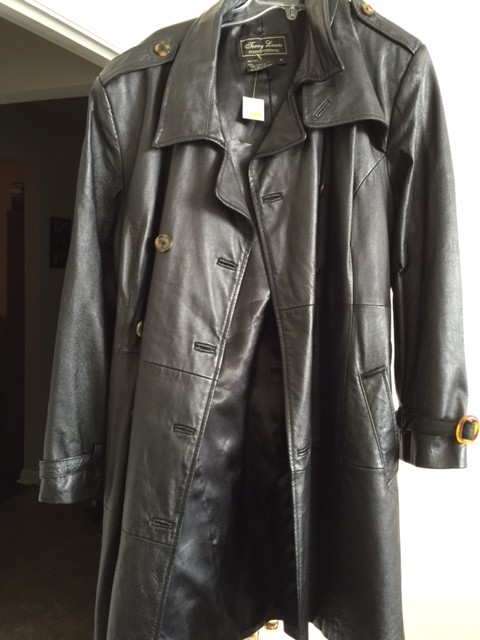
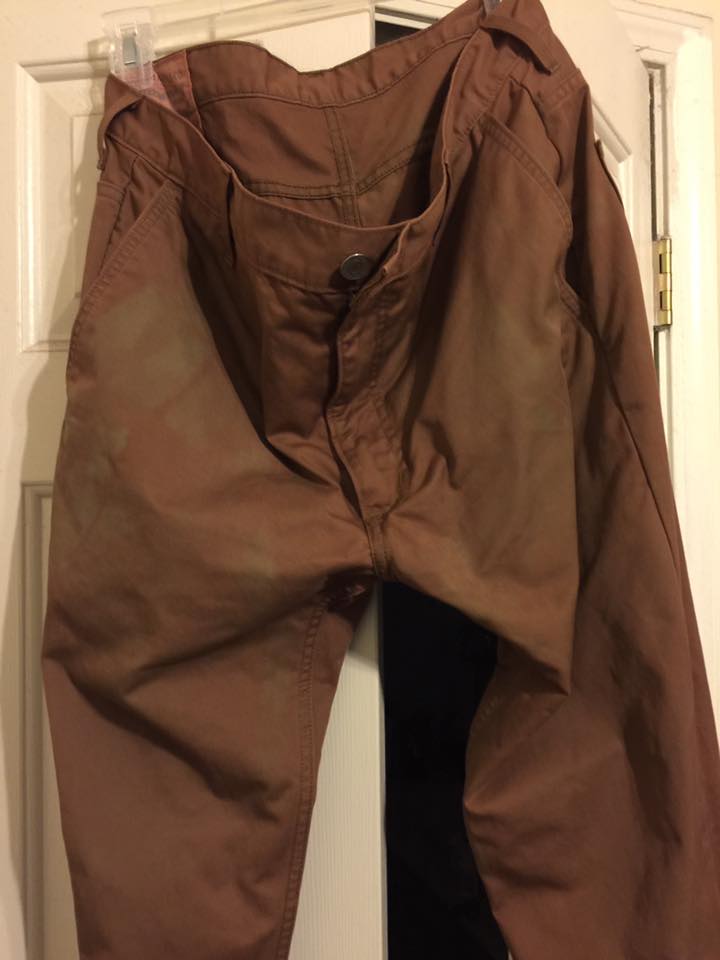
First up on my list was finding the coat. Man do I love Goodwill! Found the first pieces for my costume- a leather jacket ($29.99) and boots ($14.99) that fit perfect at a Goodwill store near me. I saw some online from a few different sources that could have worked, but the cheapest I found was a little over $100. Not a bad price for a nice coat to wear around, but a bit more than I wanted to spend for a costume jacket I was going to dirty up. I confess, at this stage I looked more like Kevin Smith/Silent Bob than John Hurt as the War Doctor, but it was a start. Needed to switch out the buttons and paint and distress/age the jacket some- but for a leather jacket under thirty bucks, I knew I could make it work. Woo-Who!
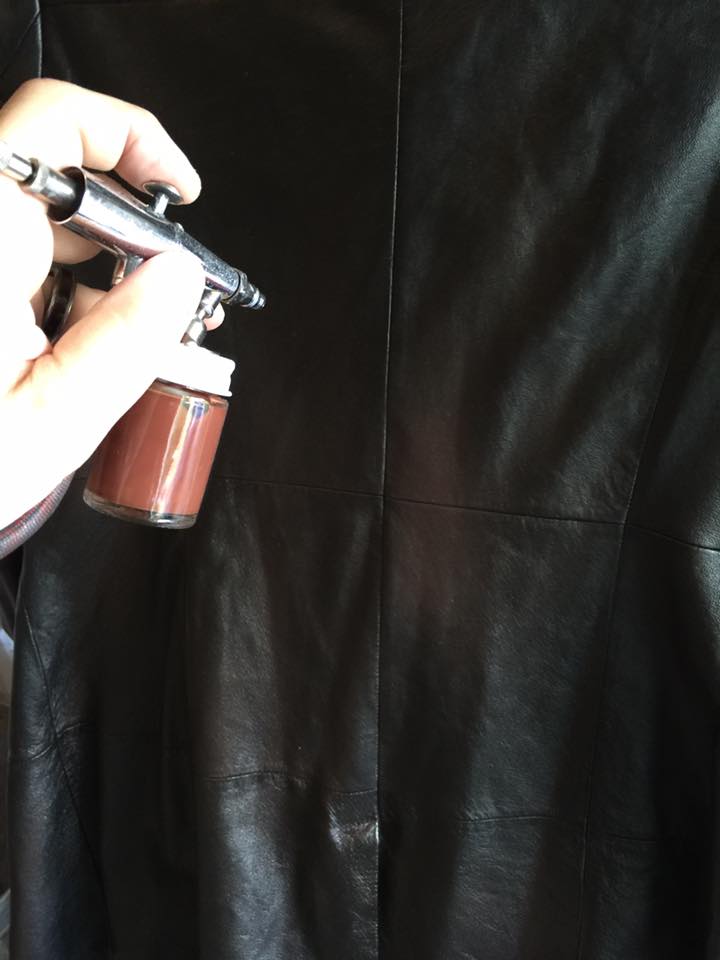
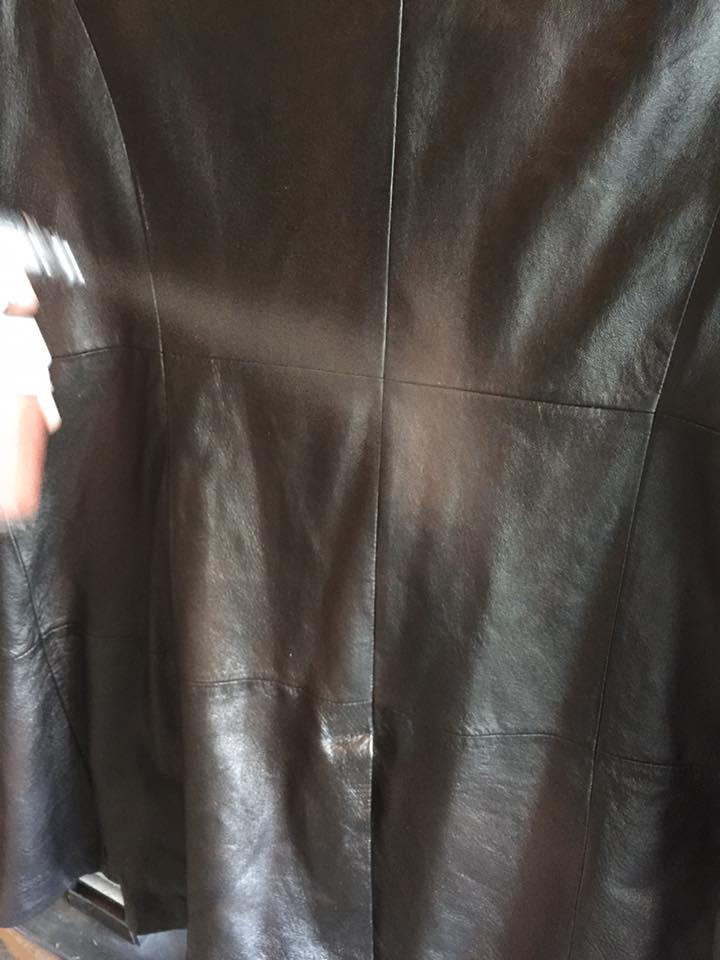
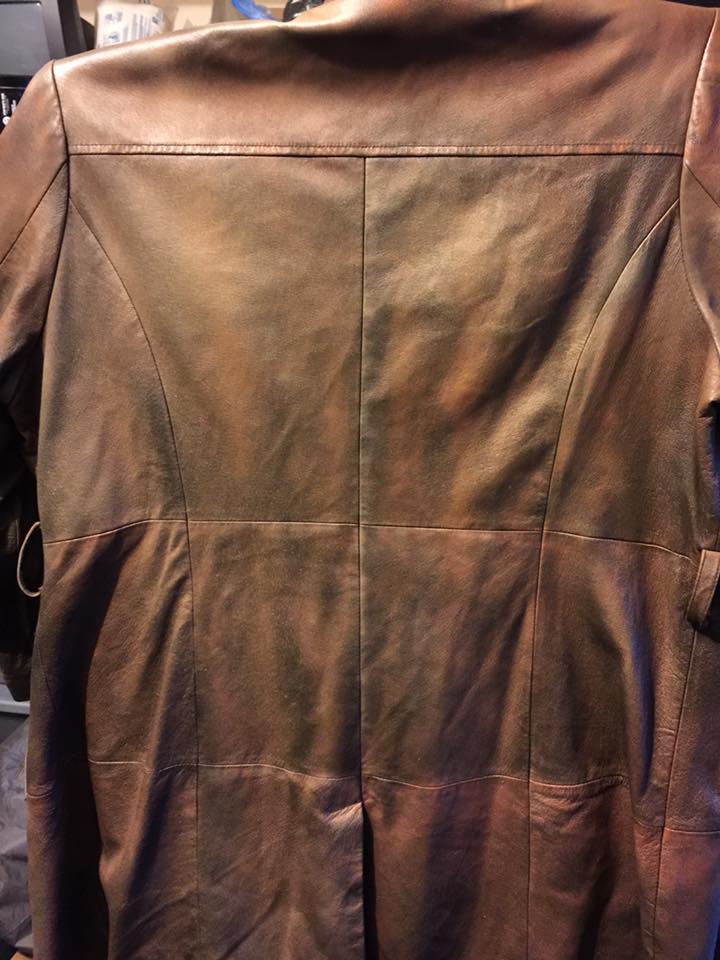

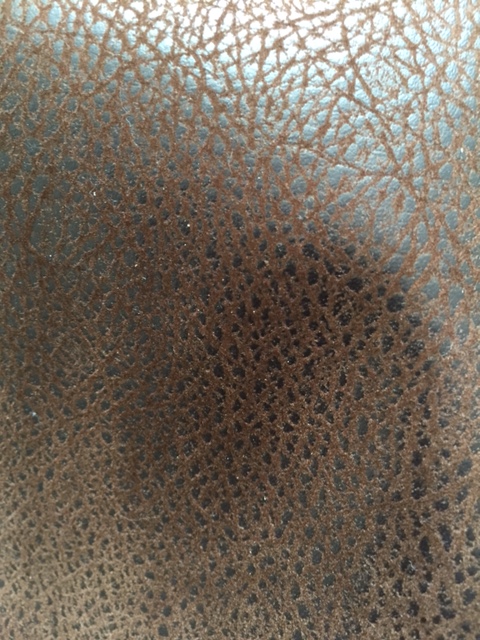
The jacket was originally black leather, but I was able to make it into a convincing looking brown jacket. I first removed all of the old buttons, then I rubbed it down with some alcohol to clean and remove any oils. I then broke out my airbrush (Paasche VL-3) and compressor and started spraying some brown Createx acrylic paint all over the jacket. Tried to keep the spray pattern a bit erratic and let the natural wrinkles help the overspray create highlights. Used a lighter opaque beige and a transparent red brown to keep it from looking too uniform in color, and let it dry between coats. Was wanting a very aged and weathered look to it.
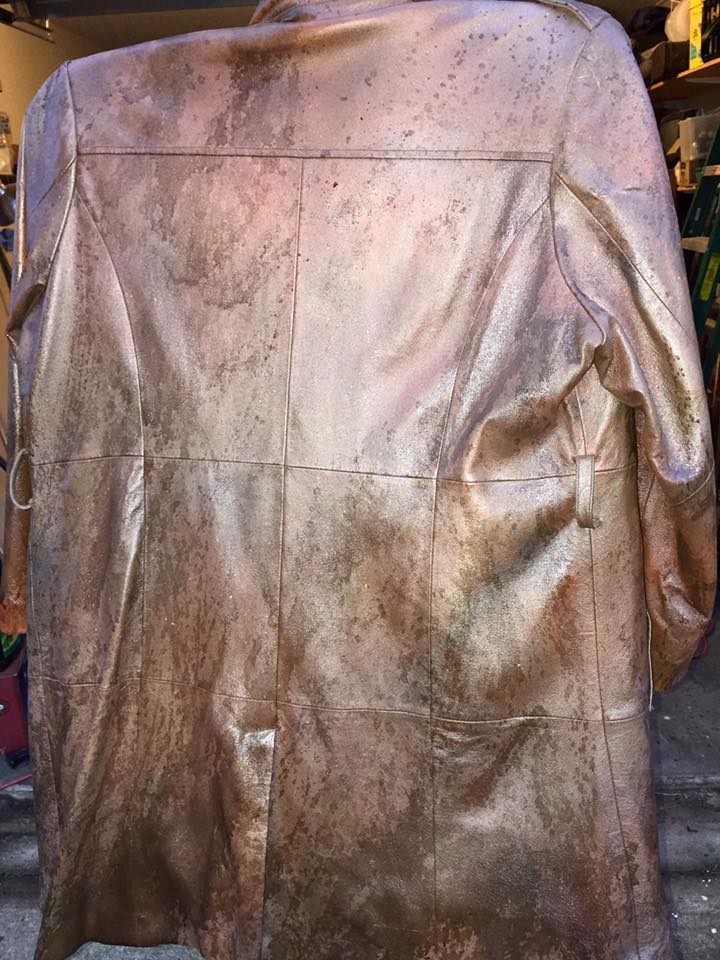
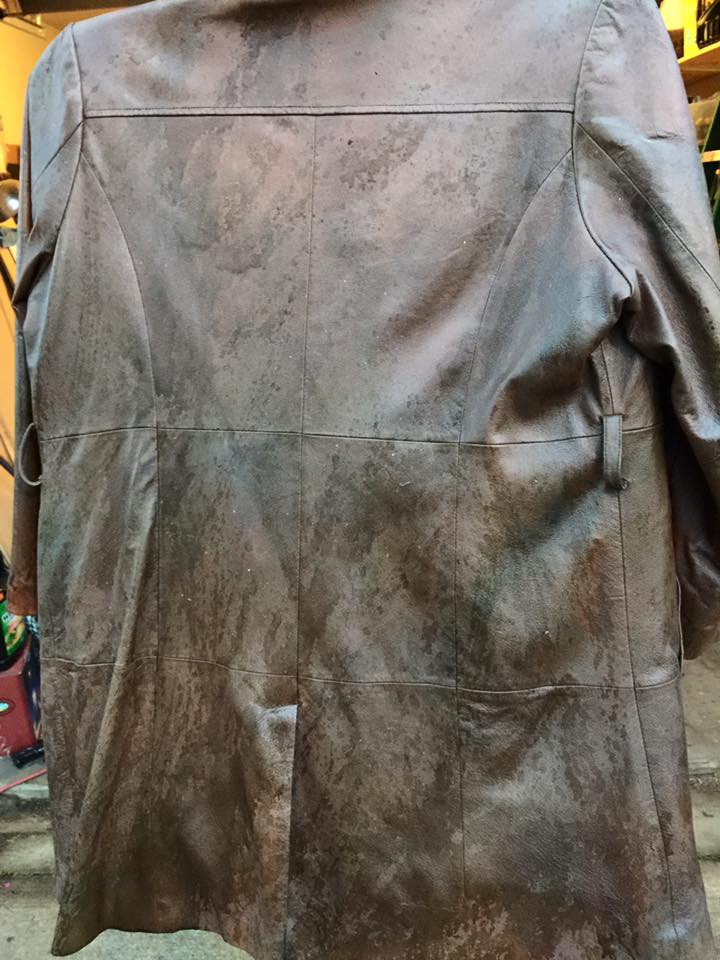
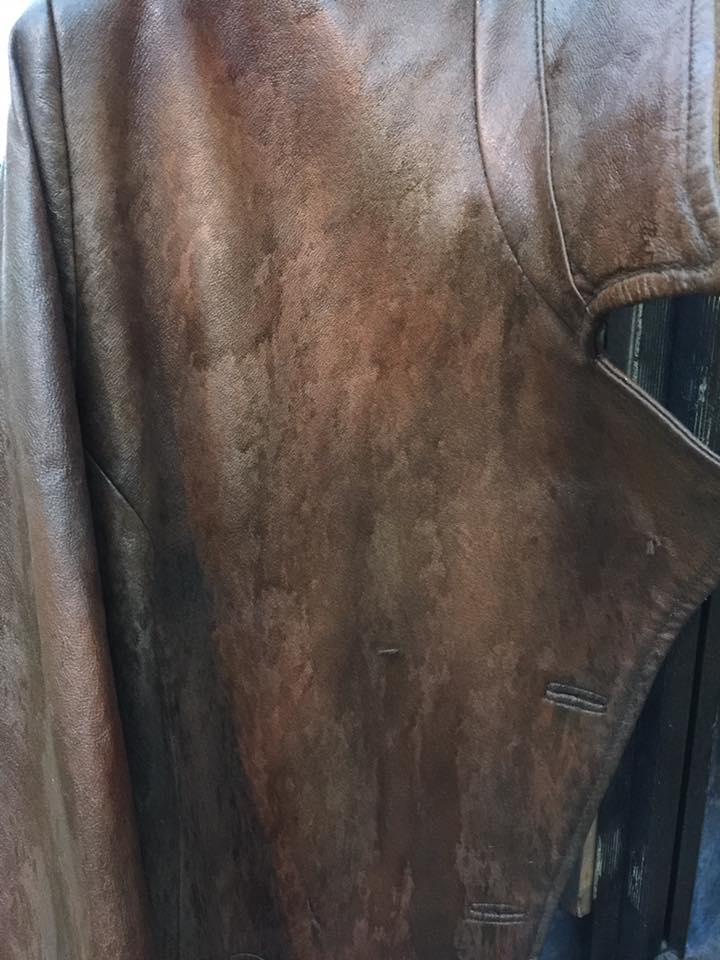
After going over it several times to cover the black the colors looked good, but not splotchy and old looking enough. I took a rag and some brown wood stain I had and rubbed it gently over the jacket. I let the stain run a little here and there. Also took a toothbrush and splattered a bit more over the coat. That did the trick and it now looked like it had seen some action! Sprayed a protective coating over it and let it dry for a few days.
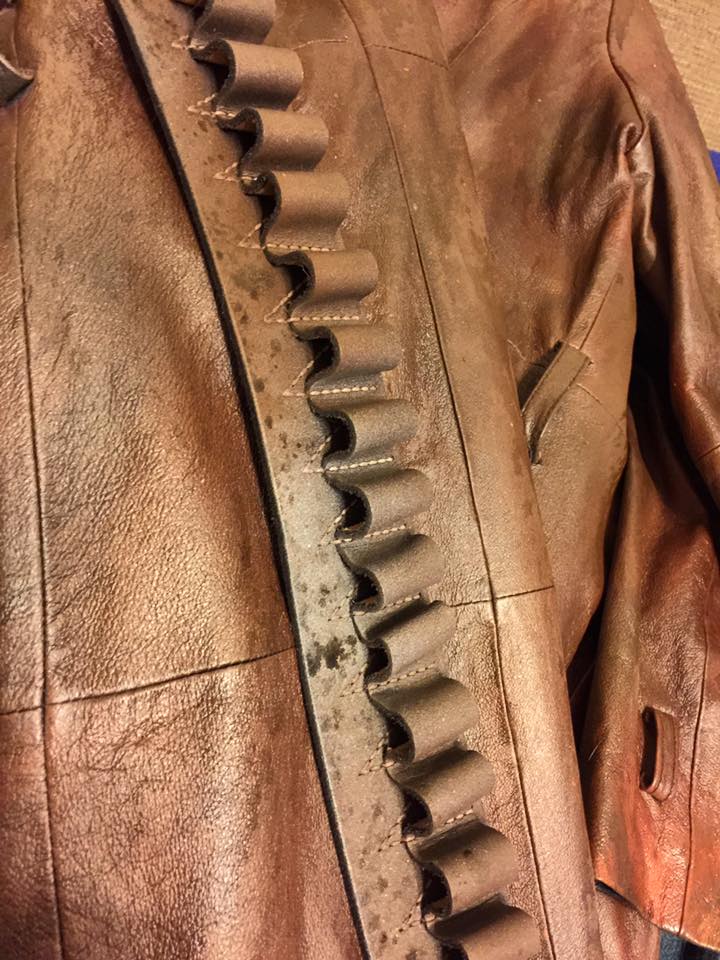
I found a few folks that made the War Doctor’s ammo bandolier but again, I was trying to not go crazy on my spending. I was going to make one myself but I found an ammo belt for a good price on Etsy that would do the trick. I needed to add the armor and age it a bit, so did the same trick that I did on the jacket but with some spray-paint instead of the acrylic.
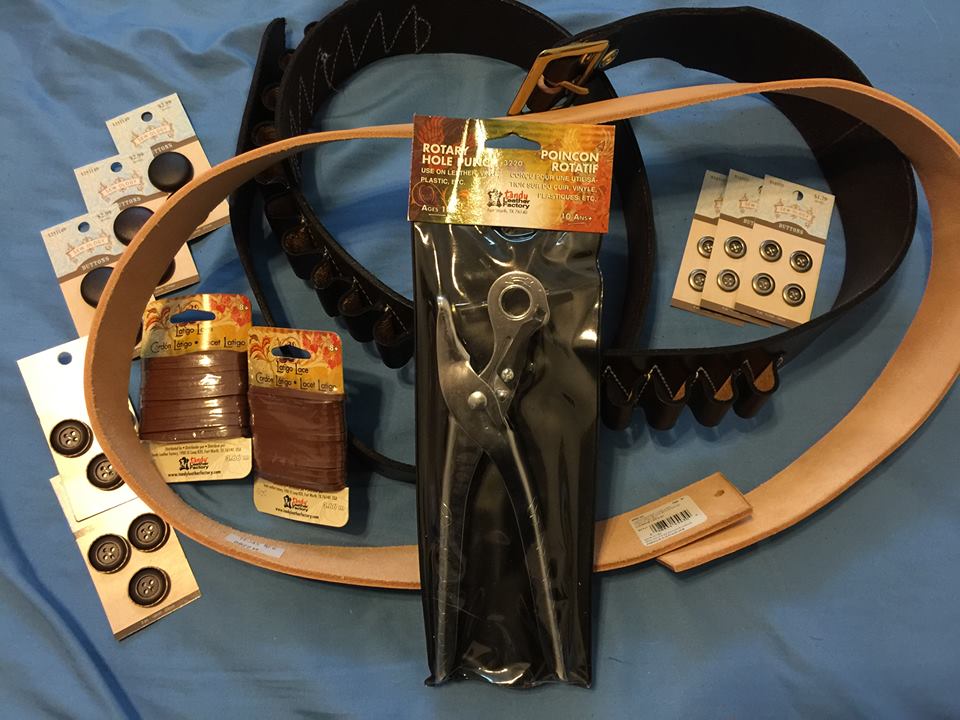
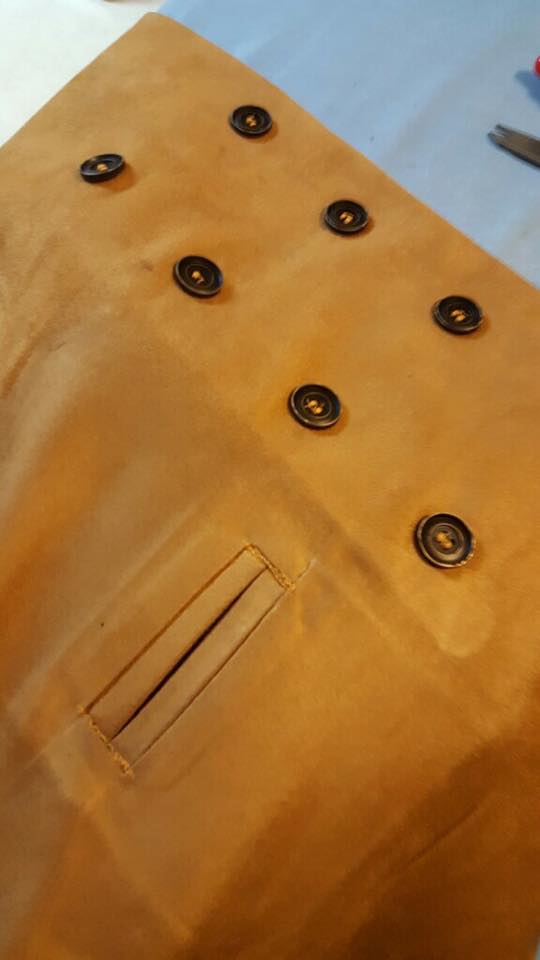
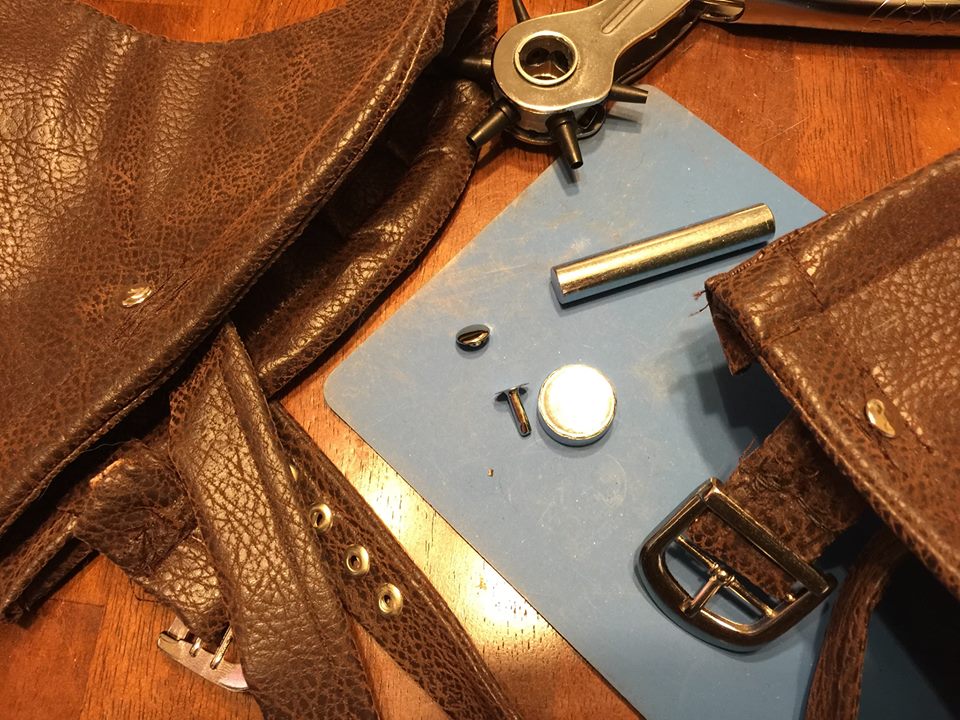
Bought some leather, lace, and hole punch for my ammo belt at Tandy Leather – and more buttons for the vest and jacket at Hobby Lobby. Both are just up the street from my day job.

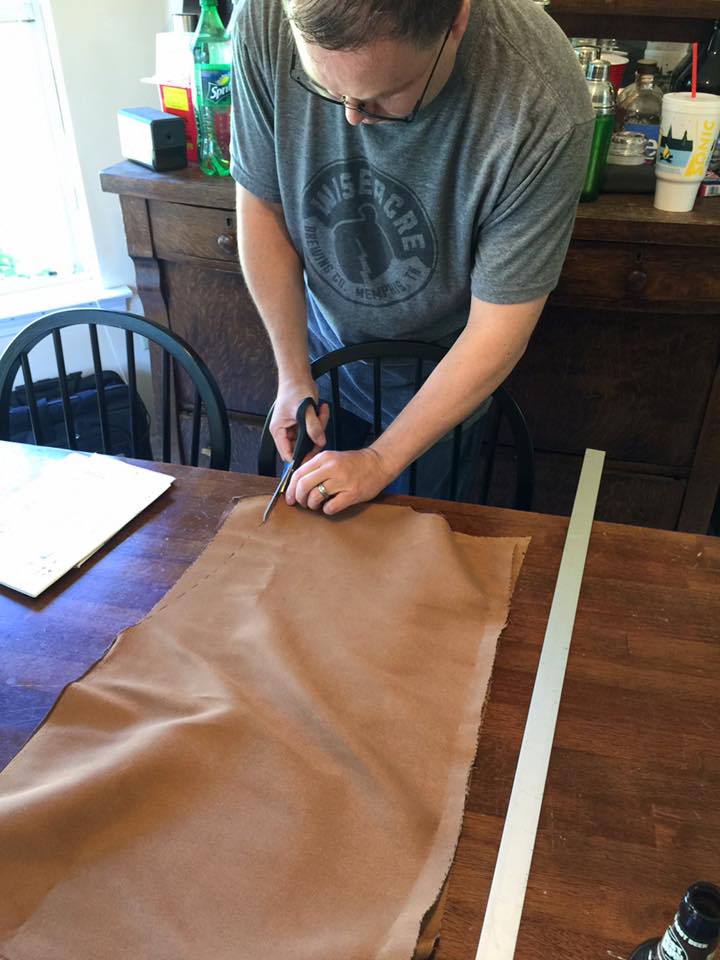
Cut some leather backing pieces and punched some holes in them. Then measured for and made a paper template out of Bristol for the armored parts. Drew the pattern on the inside of an aluminum can, then cut out the metal pieces.
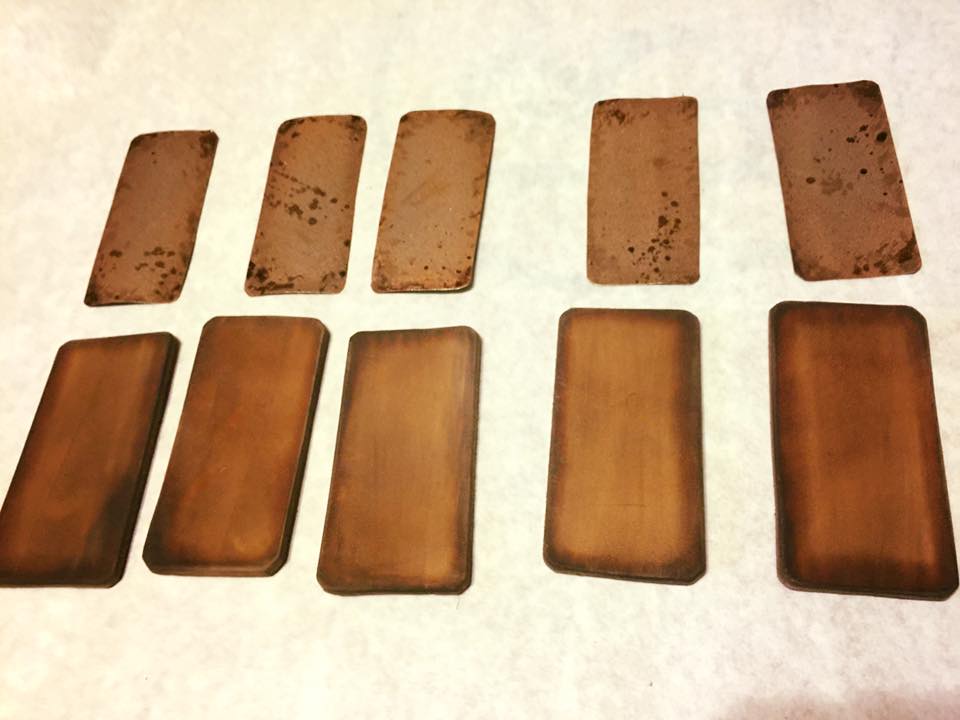
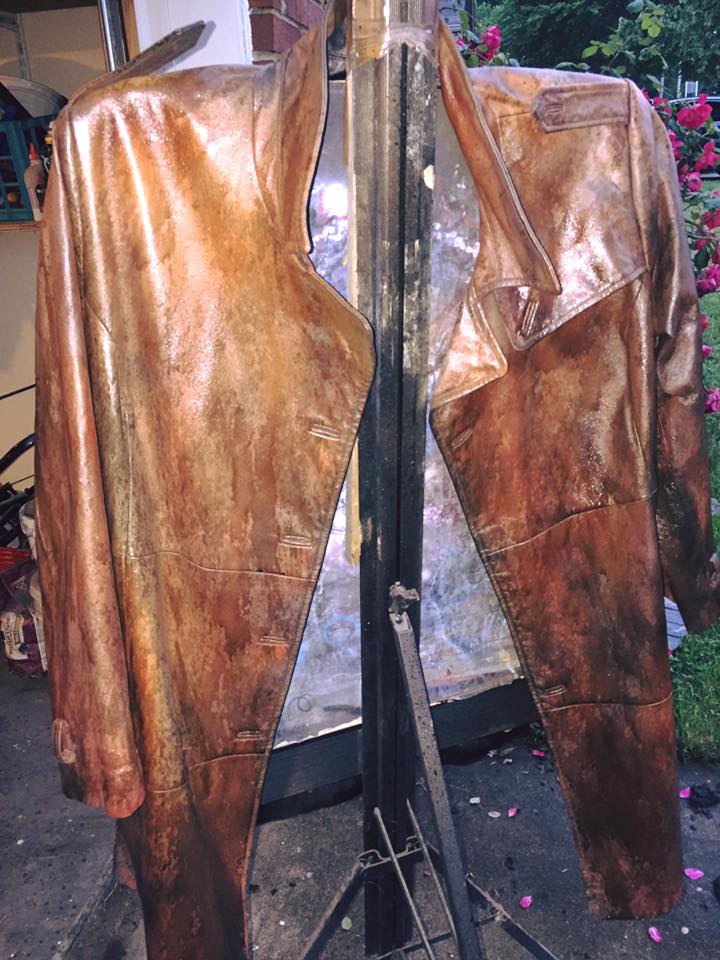
Spray painted the aluminum pieces with gold, bronze, grey, white, and black-kept the cans away and let the paint mist and spitter-sputter over them. Splattered a bit of stain on them after staining the leather pieces.

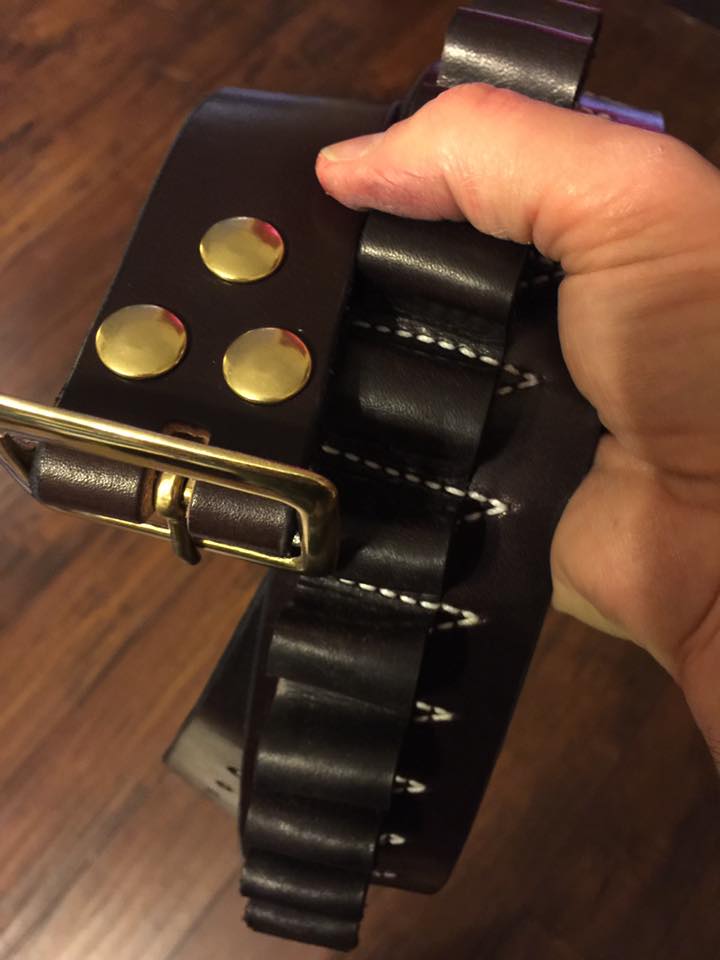
Ammo belt armor plates and buttons for jacket painted. Now I had to sew and lace them on. Keeping the buttons on their cards helped me to handle them while painting.

Once I got the leather/armor plates laced onto my ammo belt I test fitted my sonic screwdriver and it worked great.
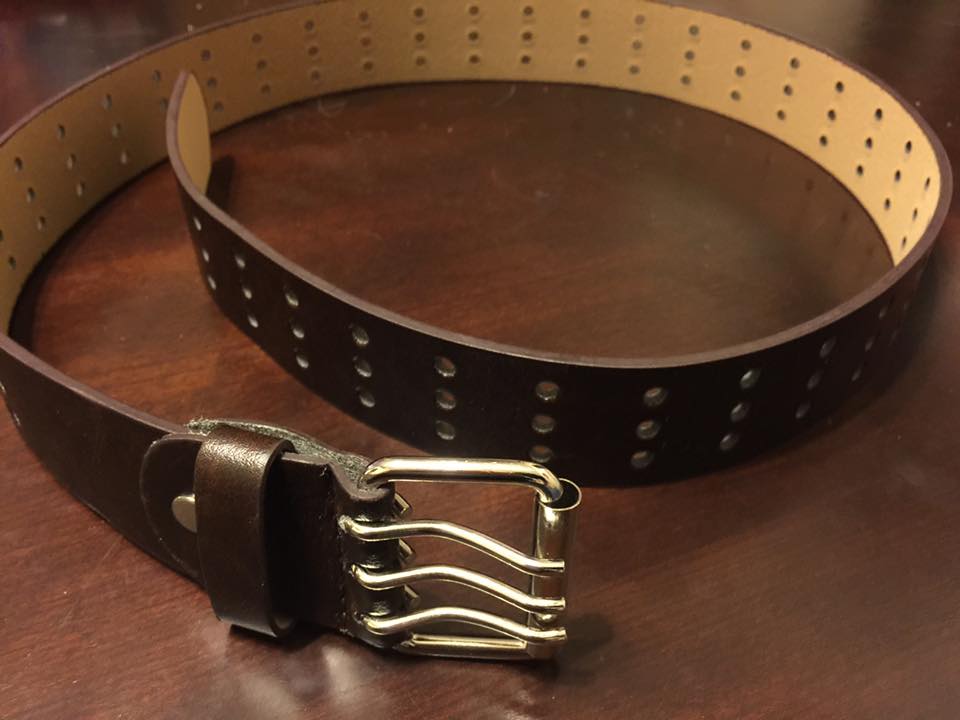
I ordered the 3-prong belt for my costume from Amazon for $14.99 including s/h. It’s kinda hard to tell what type of belt he wore, but found some screen shots and costume pics, and this one is very close.
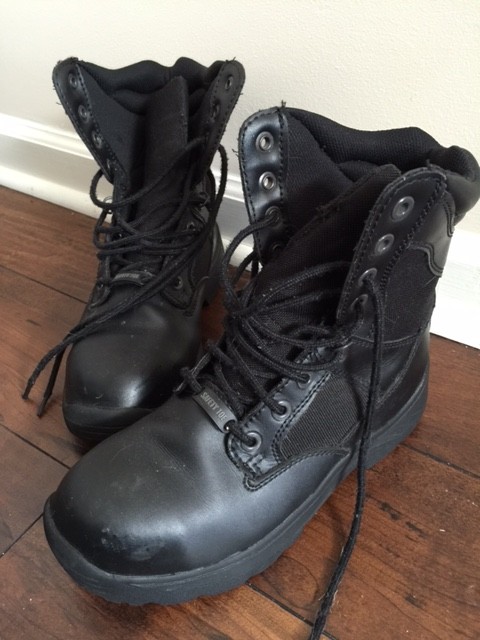
The pair of black SWAT boots I found were a perfect fit, a great price at $14.99, and were steel toed, too! Like the coat, I had seen some more expensive Magnum boots online for around $80-100 a pair, but these are close enough and in my budget. Don’t mind “dirtying” them at the price I got them for at Goodwill. You have to shop Goodwill frequently, but when you do you can get lucky and really find some great costuming pieces there. We’ve got two near me, and one not too far from work. Have had great luck at both.
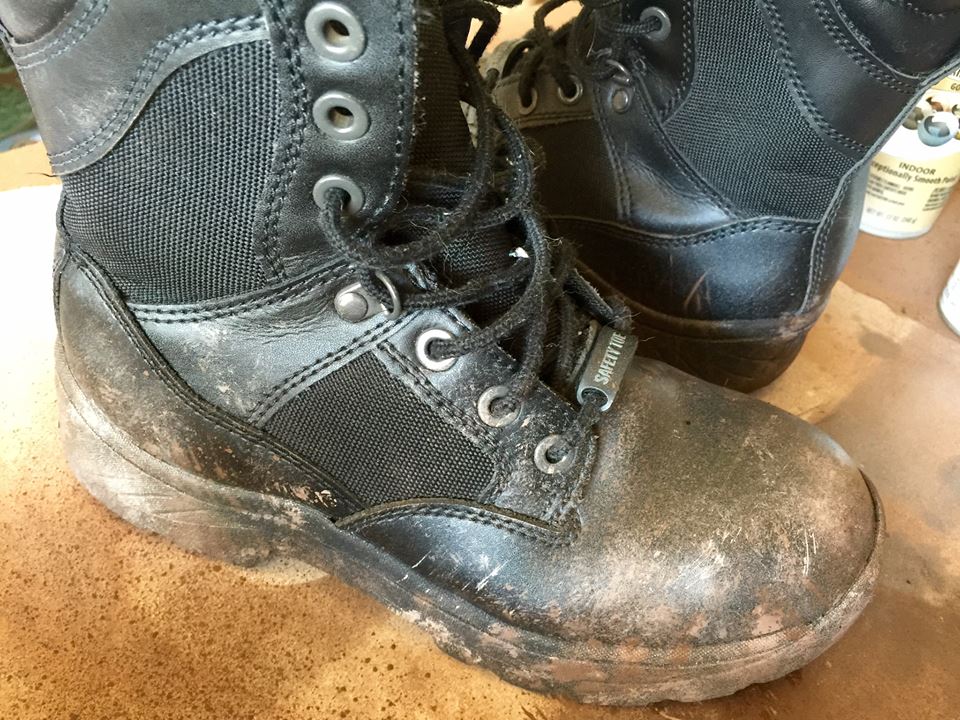
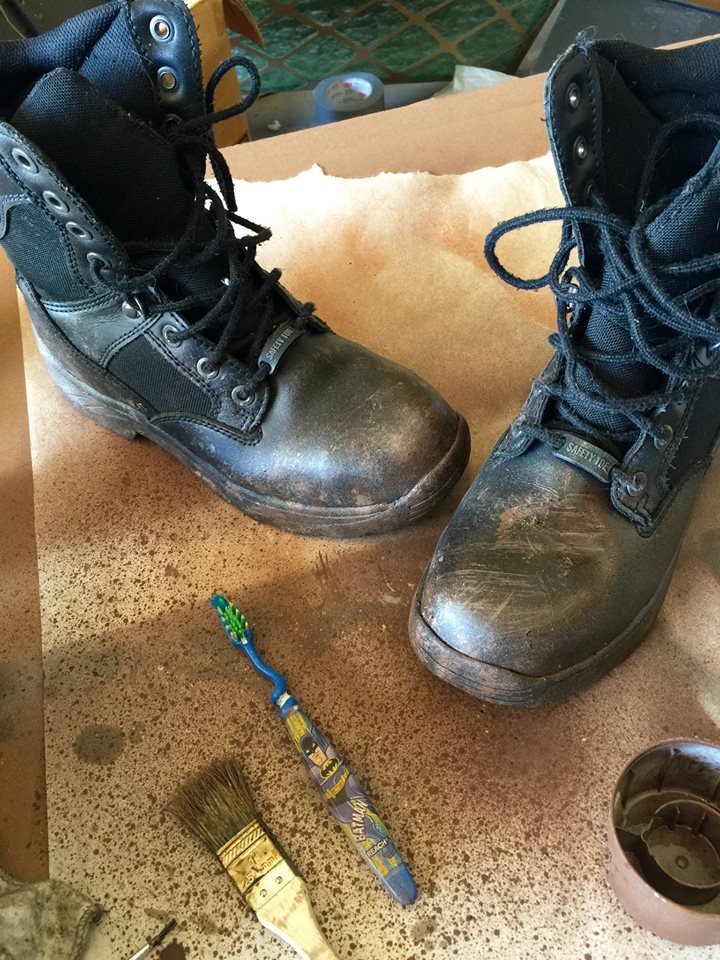
I wanted the boots to look like he’s been doing a lot of walking on dirty alien terrain. Used a few different colors of spray paint, some splatter/spitting techniques with a toothbrush, and a bit of dry-brushing.
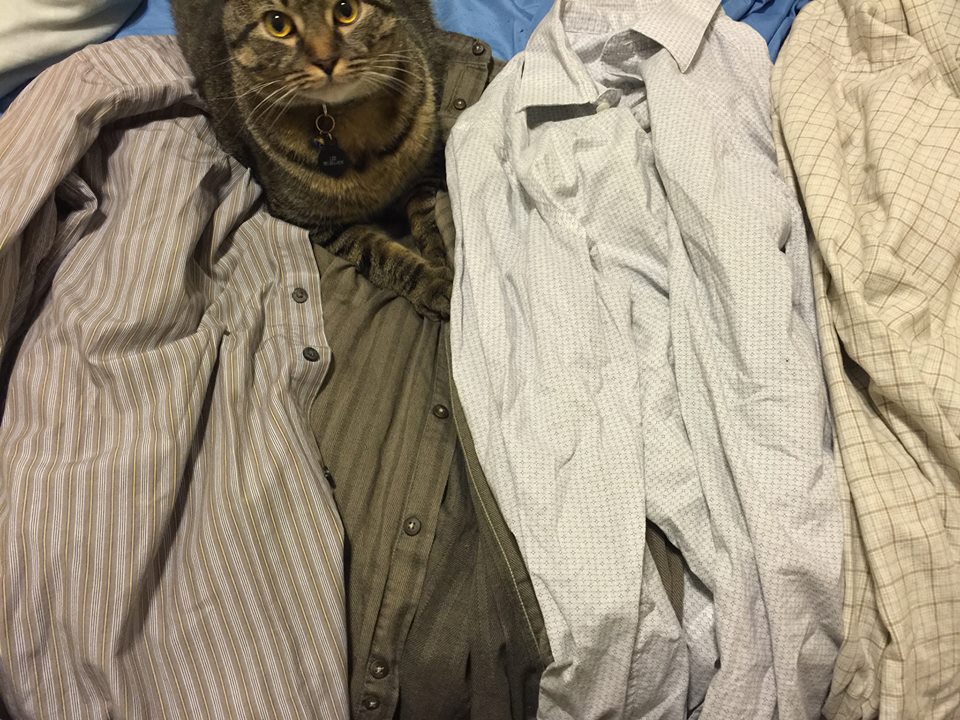
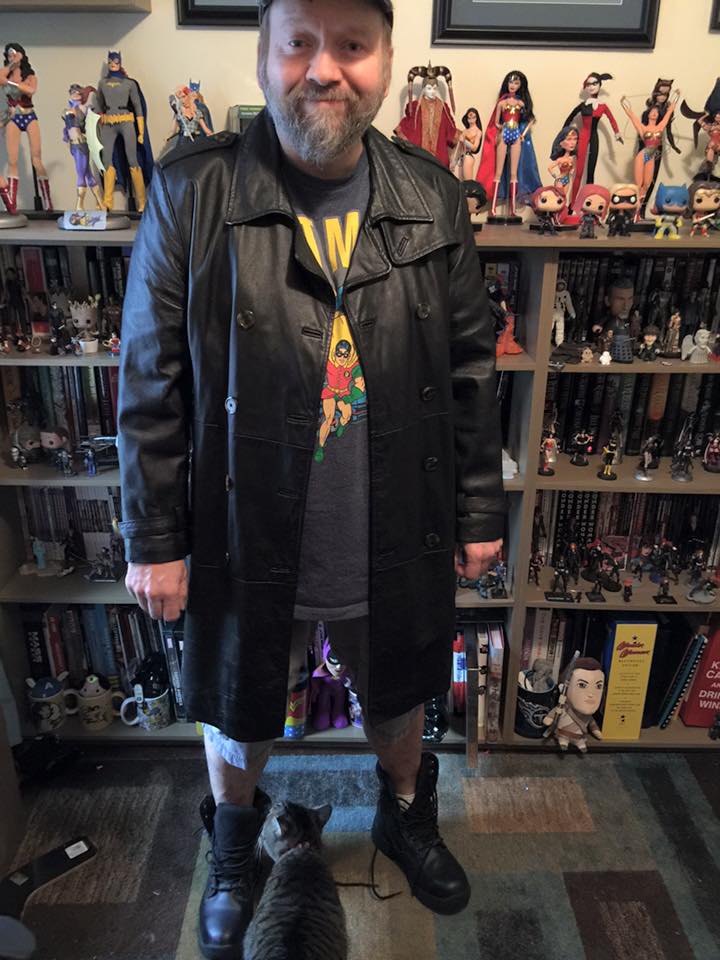
I found a shirt and a couple pairs of paints at the Unclaimed Baggage Center in Scottsboro, AL on our trip to ConKasterborous in Huntsville. The shirt wasn’t exactly what I wanted, but thought it and the pinstriped pants could be used for a western or steampunk costume sometime later. I went to Goodwill when we got home and found these four. The one on the far left is the one I went with, and use it and the pinstripe pants (plus the leather jacket) for my Rorschach costume, too. They were only a couple bucks each and the other 3 will be good for other future cosplays. Just too cheap to pass up on. Also, it’s great when you can reuse items on other costumes.

Dyed my pants with some brown Rit Dye. They were a dark khaki and I wanted them a bit more brown. Even though they are cotton they didn’t dye evenly. It actually turned out to be a happy accident and made the pants look older/worn and more authentic. Gotta love happy accidents!
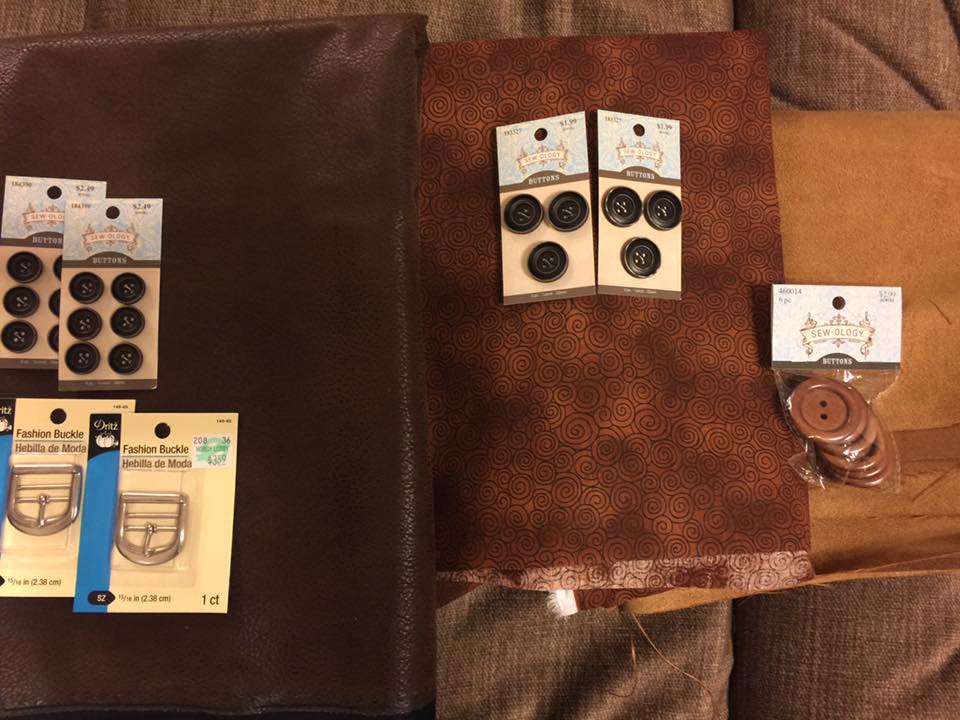
Found my material at JoAnn’s and Hobby Lobby for gaiters/spats/boot covers and vest. Got some material here in town, and some up in Murfreesboro, TN when we were visiting MTSU. The material on the left is the gaiters/spats leather, the middle is the vest back and lining, and the right is the suede for the front of the vest. Small buttons and buckles for gaiters, medium buttons for vest, and a pack of large for me to use on the jacket- which I ended up not using when I found the others I liked better.
For the vest and gaiters I enlisted the help of my friend Tim Brown. He’s a veteran at costume making and we’ve worked on a few costumes together over the years including some Star Wars ones and my Jor-Elvis costume. Tim’s know for creating his own patterns as he goes and making adjustments as needed.
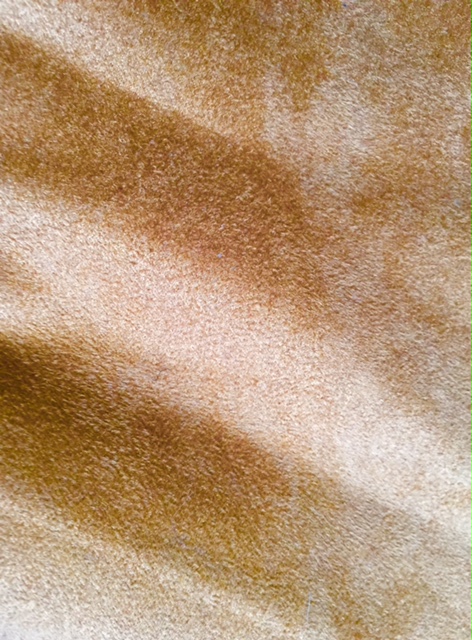
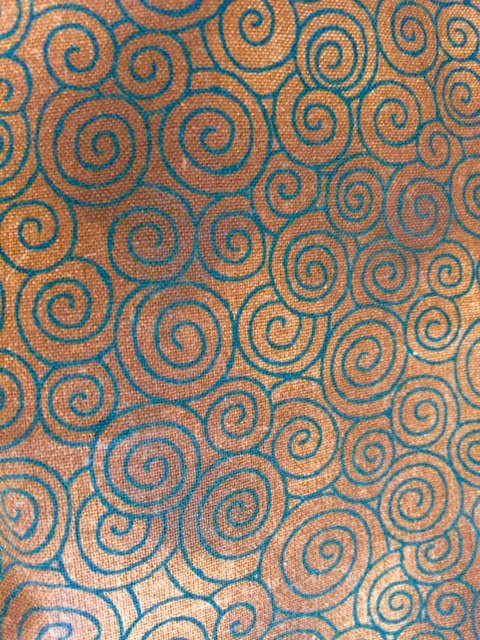
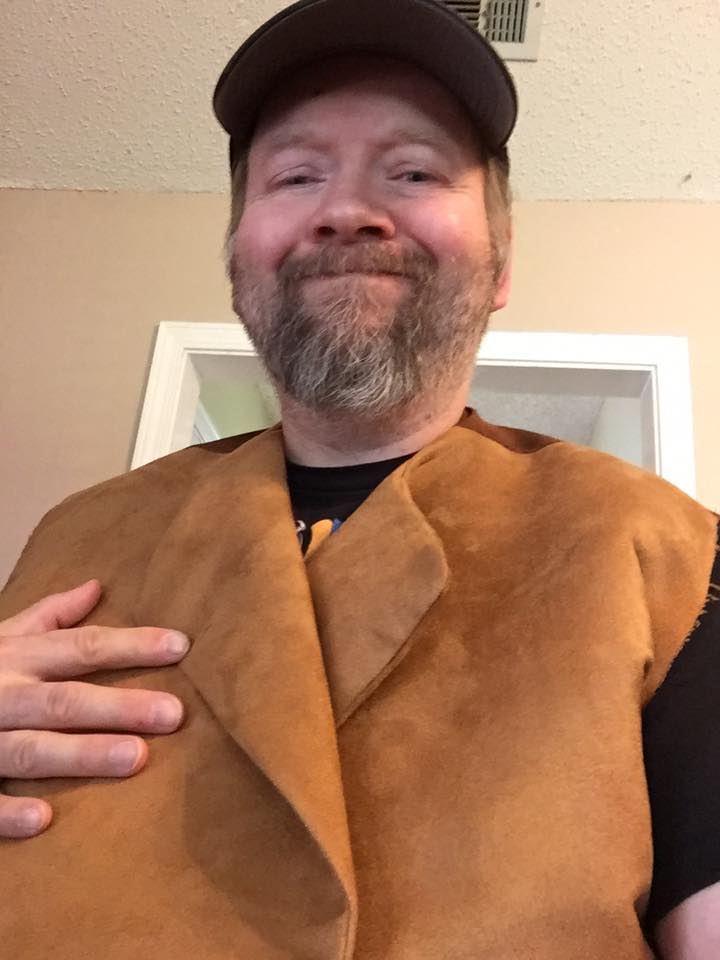
We used a faux suede material for the front (left) and a patterned lighter material for the back. I probably could have gotten away without a back, but since it was a costume and wasn’t going to be lined I felt the look was just too cool to pass up.
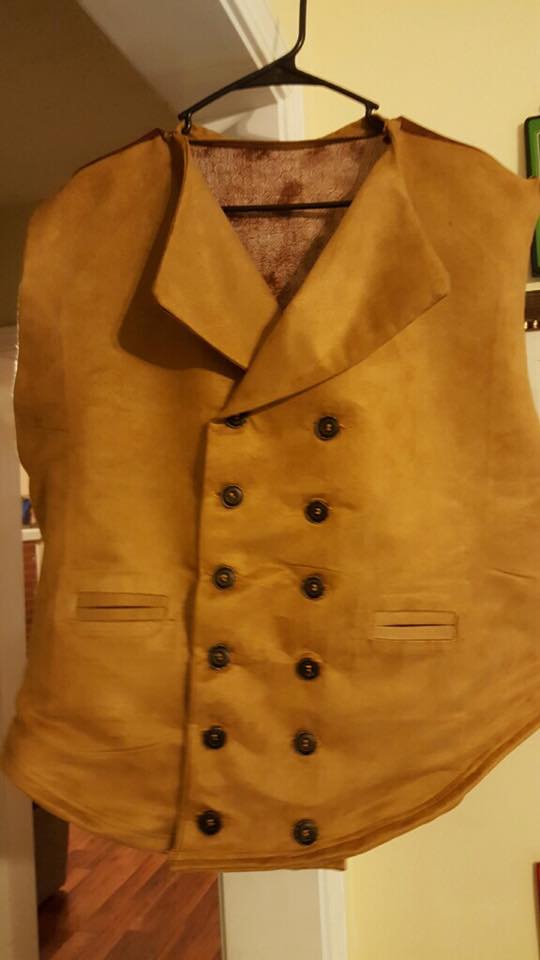
The War Doctor’s vest is a different color, but I really loved this material and thought it gave the costume a bit more contrast. I’ve seen other War Doctors wear everything from reds to dark brown, and cotton to leather. Tim did a great job on it, and even gave me pockets for my watch.

The two pocket watches (or “fob watches“as I’ve heard them called on Doctor Who) I bought for the costume. The one on the left I got online, and the one on the right I got at the River City Comic Expo in Little Rock, AR from the girls at Odd Duck Studios.
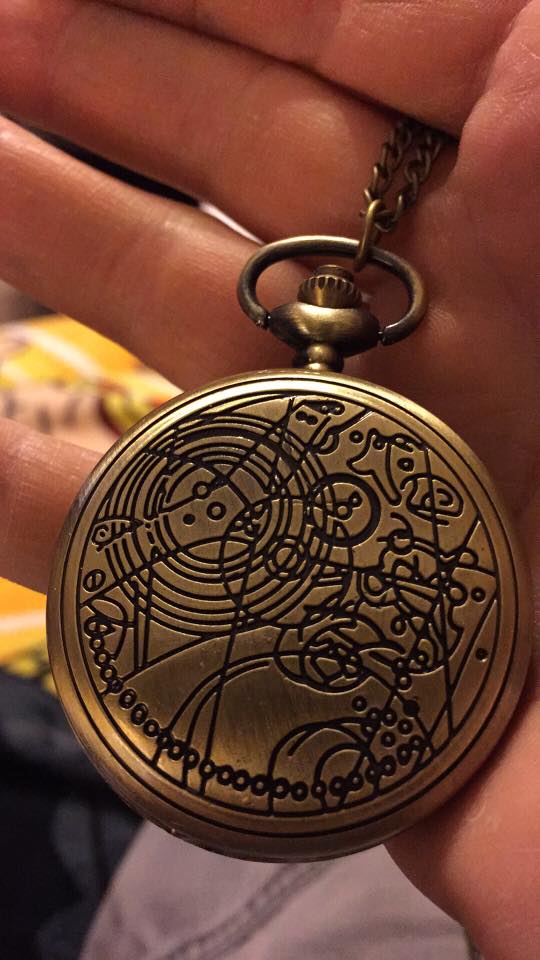
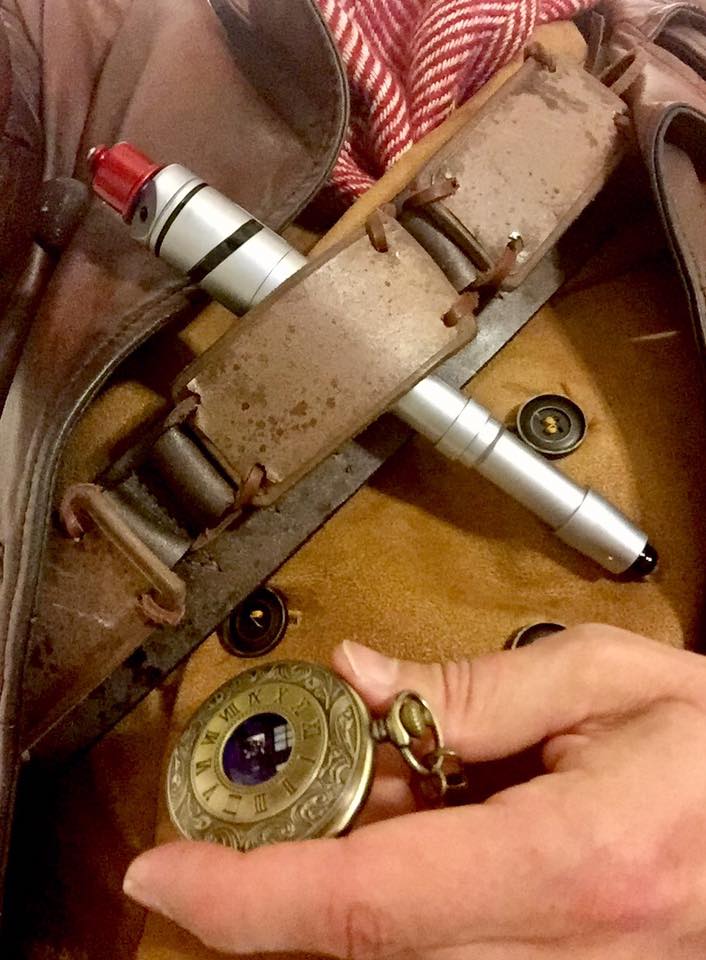
I kind of swap back and forth on which watch I use.
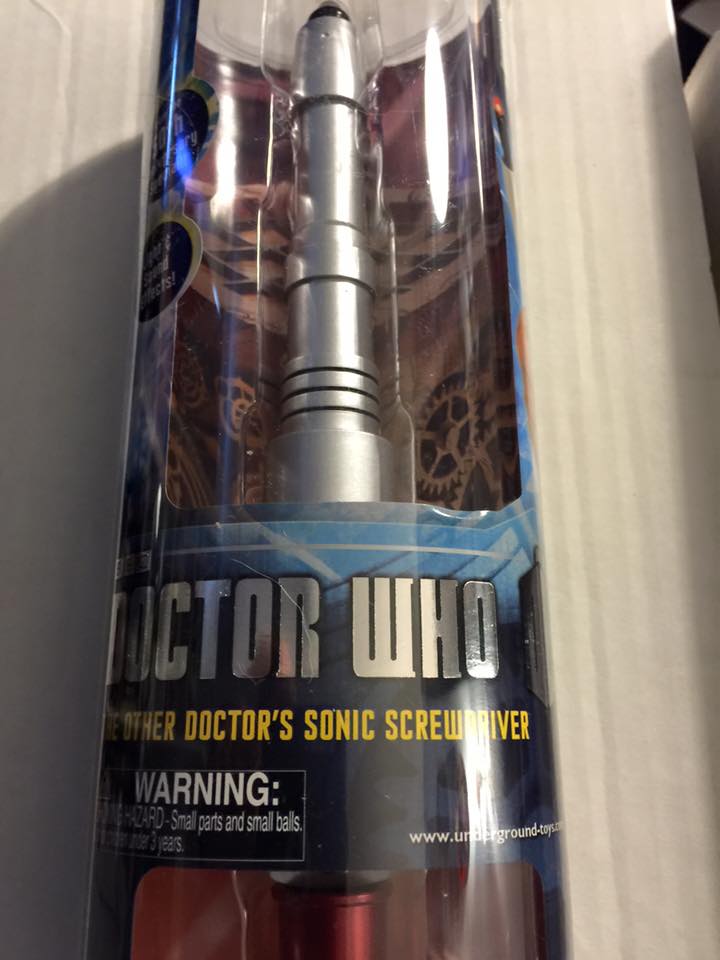
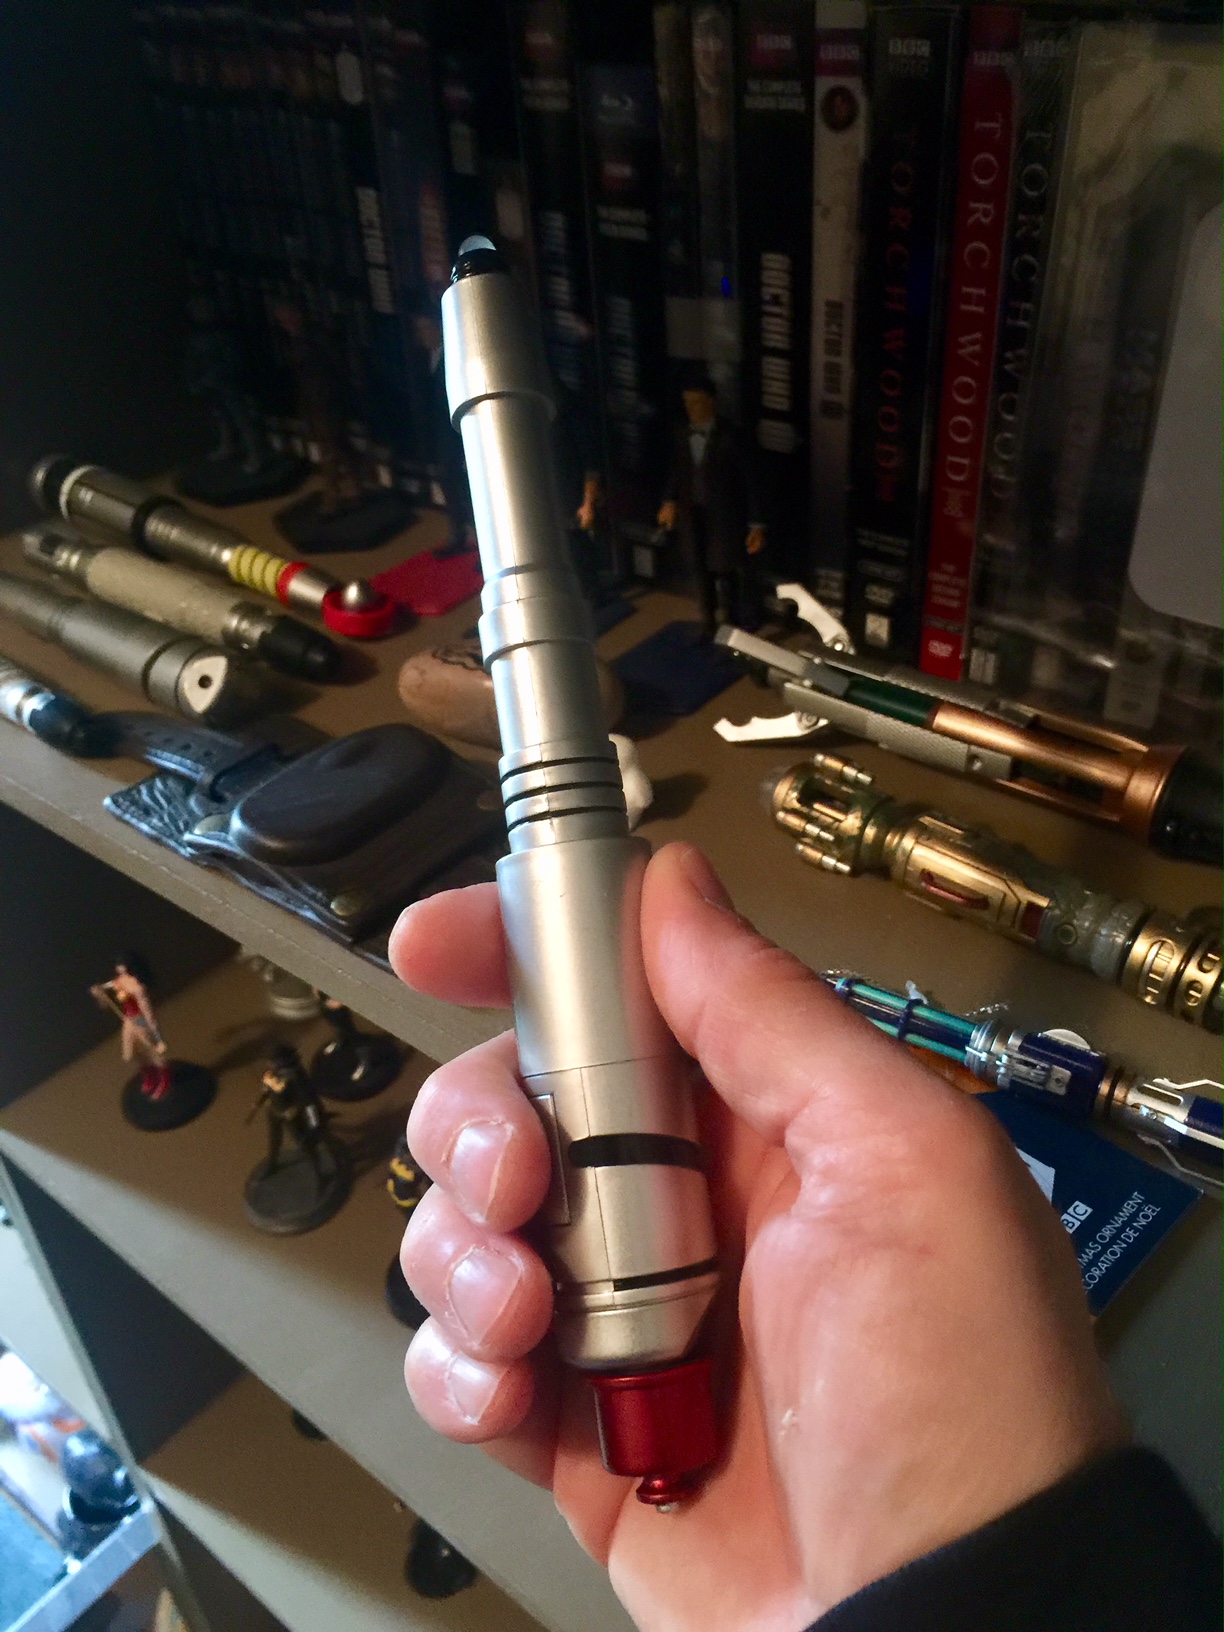
My sonic screwdriver I found online at a decent price- around $20. Ended up buying a second one later at MidSouthCon when I forgot my first one at home! Luckily I found another one for $20 at the first table I stopped at in the dealers room at the con. I keep it in my cosplay tote, and my original one is in Nicki’s room as part of her sonic collection.
While Timmy was working on the vest, I started working on my gaiters next. I liked that the material had a cool texture, but was flexible enough for us to work with.
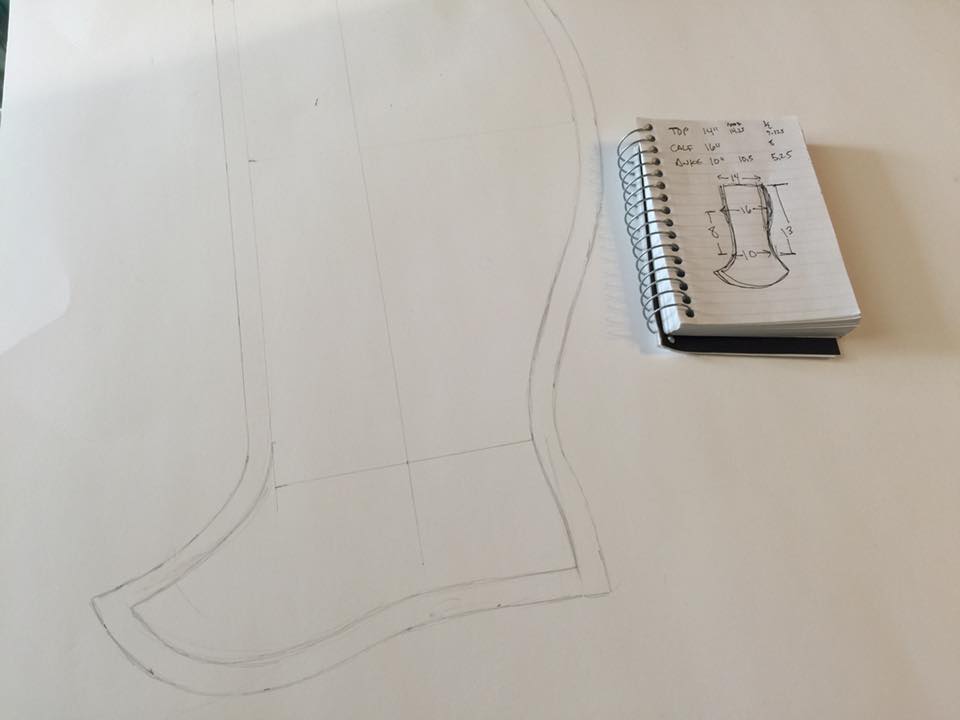
I first did a quick online search for boot cover patterns to see just how we might be able to make them. I took some notes from ones I found, did some quick sketches, and then measured my legs. I figured all my dimensions out on paper first (took a bit of math), and then transferred it to posterboard for the actual patterns.
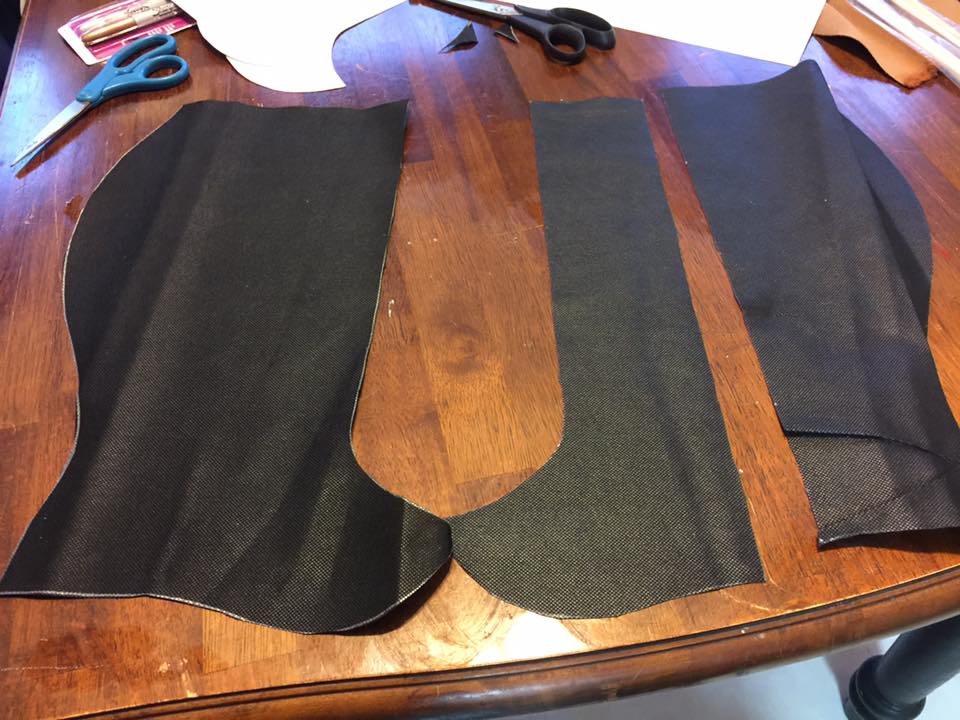
Since the material was a bit pricey and I didn’t buy any extra, we decided to make a dummy test pair out of some clearance material we found for less than a $1yd. Glad we did because we did have to make some adjustments to them. I have thick calves and we had to accommodate for that.
Timmy sewed the gaiters together for me, adding straps and buckles. Later at home I added some metal grommets to them. IF I had been thinking I would have added zippers to the insides to make it easier to put them on and take off. If I ever upgrade them I will. I learned a lot on making this costume!
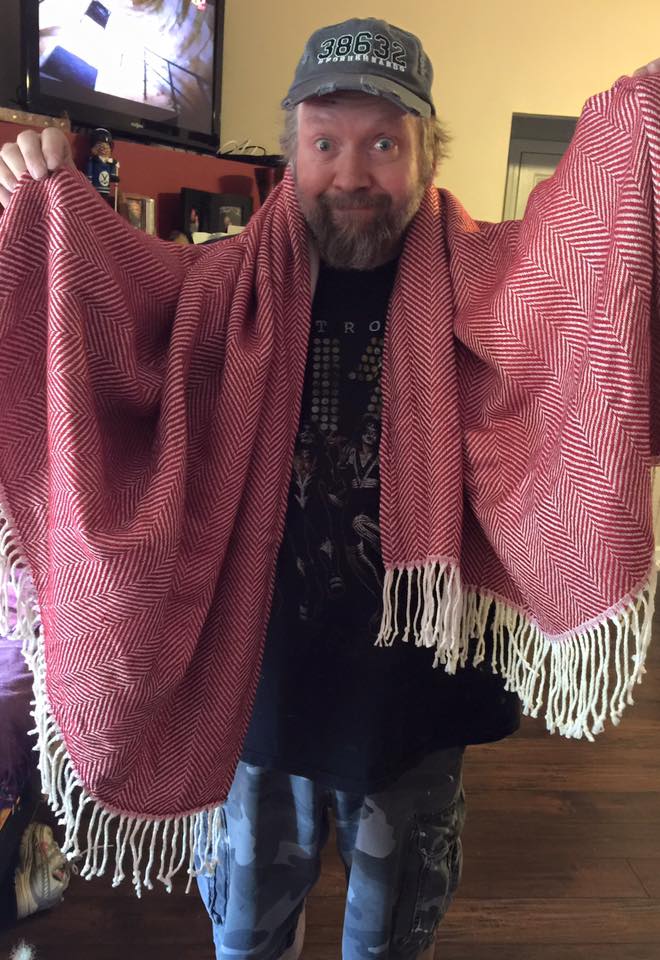
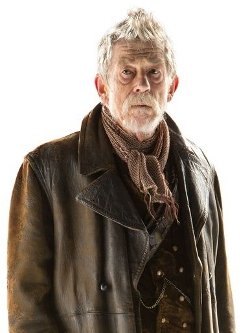
My scarf material was actually a throw I found online at Target. I’ve seen other cosplayers with more screen accurate scarves, but they are VERY expensive. Hey, the BBC had a better budget, and they needed to keep John Hurt somewhat comfortable on set. This particular material had the colors and pattern I was looking for, and I got a lot of it for under $30. I was able to make my scarf, a spare scarf, and still have material left over for a small throw for the window seat in our living room- which our cats much appreciated. I distressed it some, sprayed a bit of brown spray paint to dirty it, and even took a lighter to some parts to give it some burned edges from battle damage.
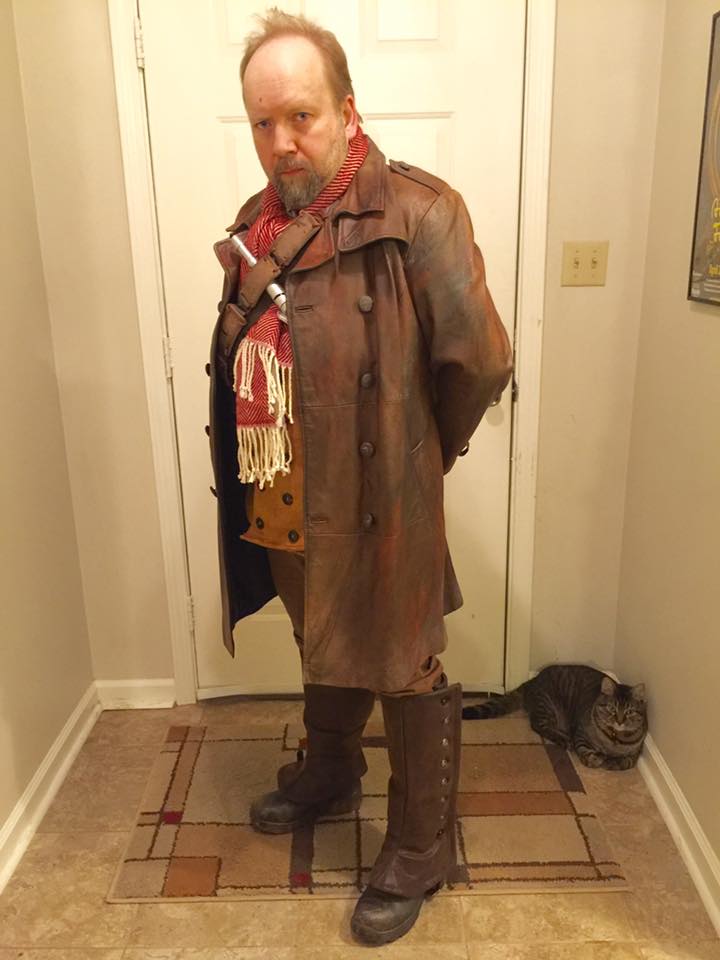

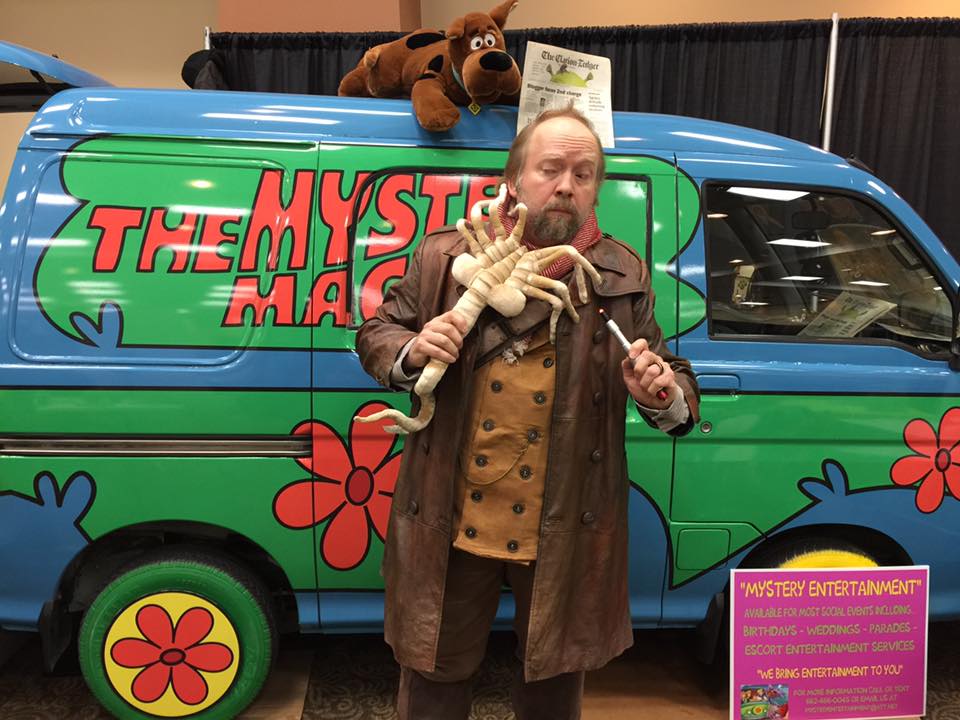
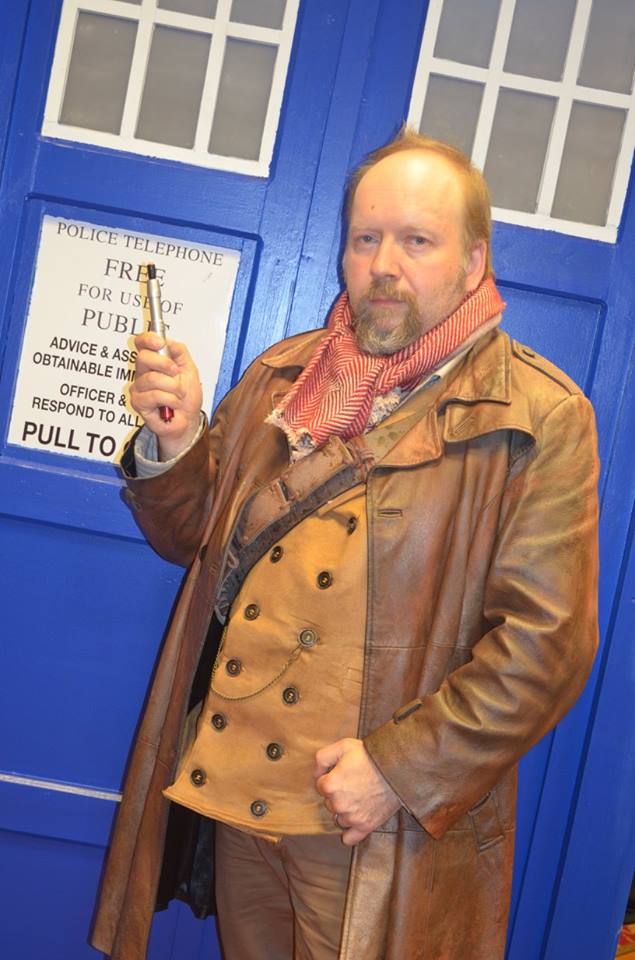
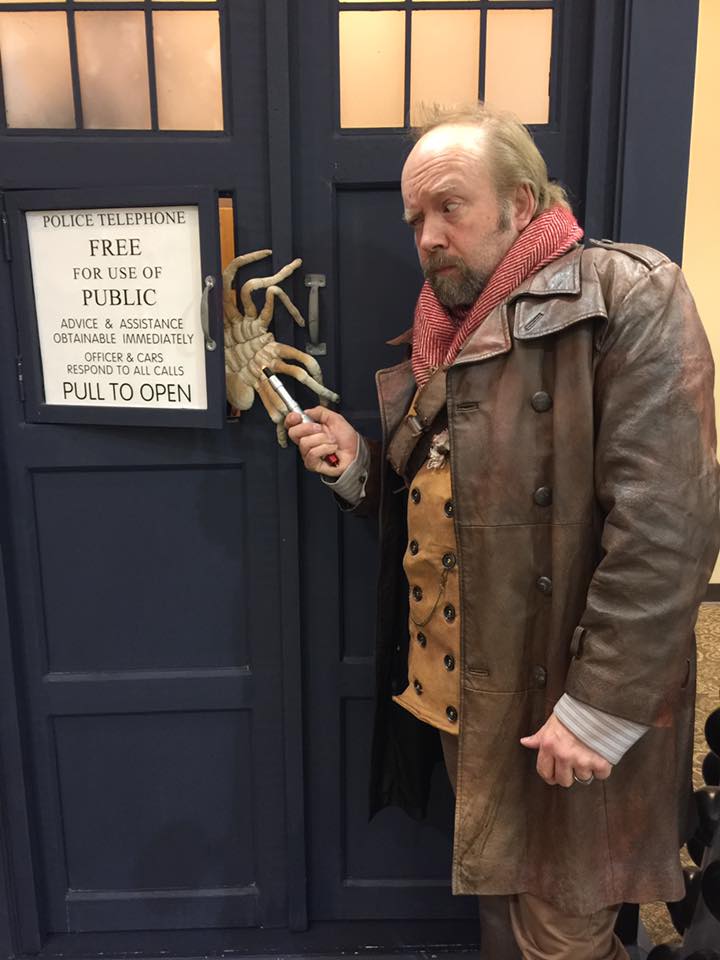
Was finally ready to put the costume on for the first time. My cat companion Lex was there. May burn a bit more of the fringe on the scarf and add a bit of brown dye to it to make the red and white a bit less bright. I’ve lost a bit of weight so I also need to take the vest in a bit before I wear it again. Going to add an adjustable strap to the back, and maybe shorten the my shirt sleeves, too. I’ve been just pinning them on the shoulder the past couple of times which works, but looks bad when I have the jacket off.
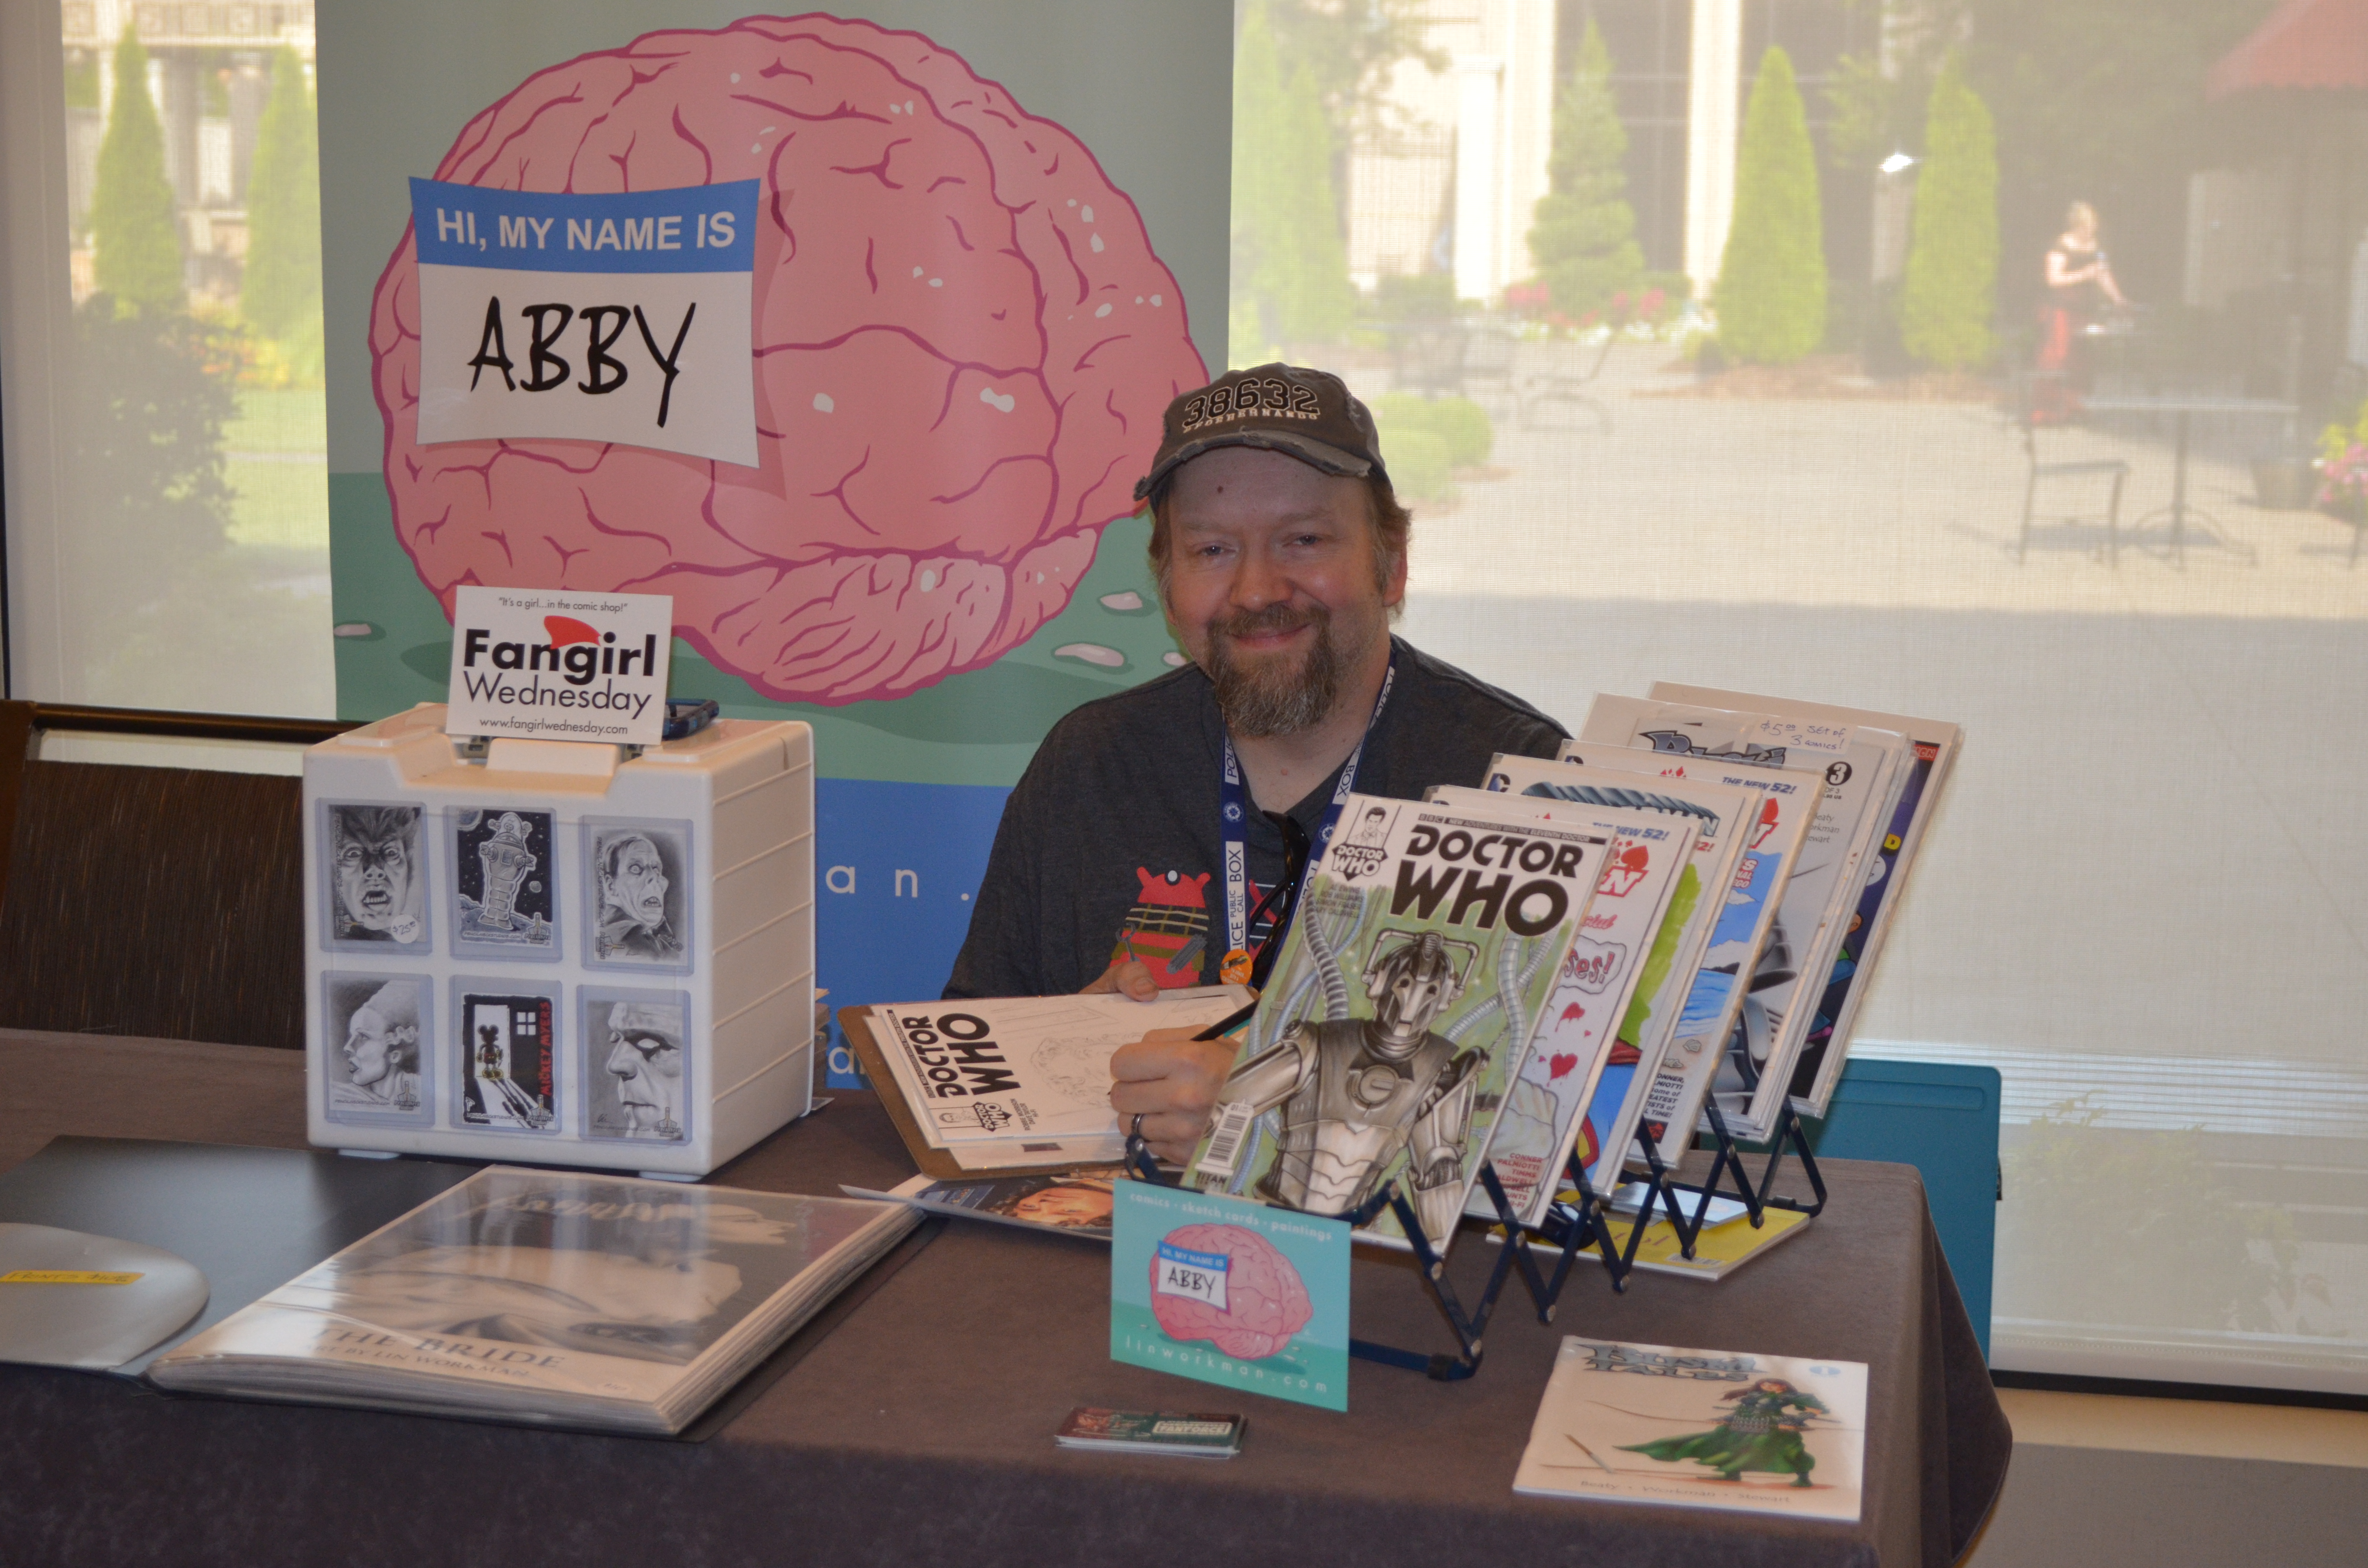
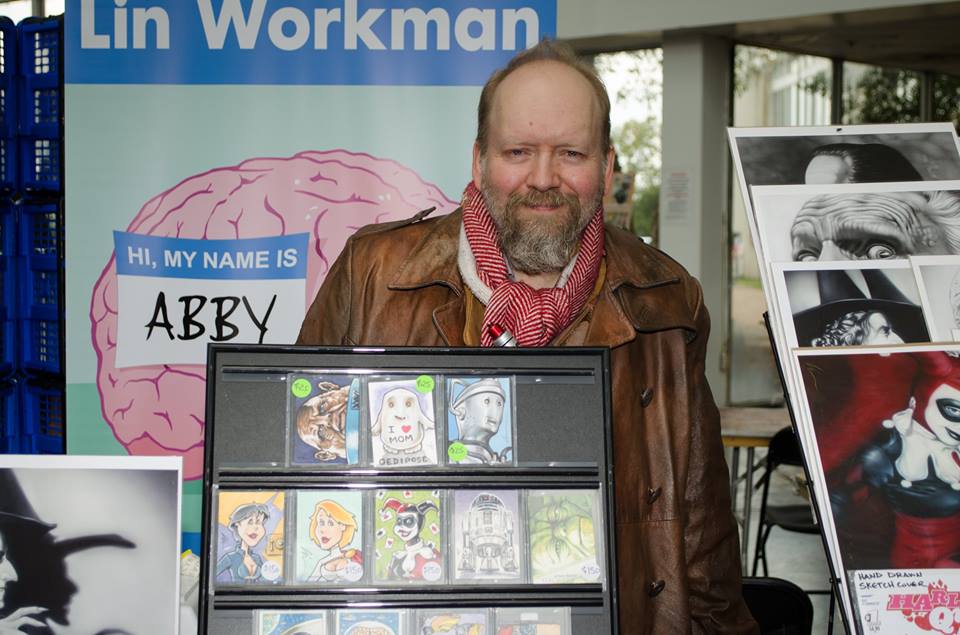
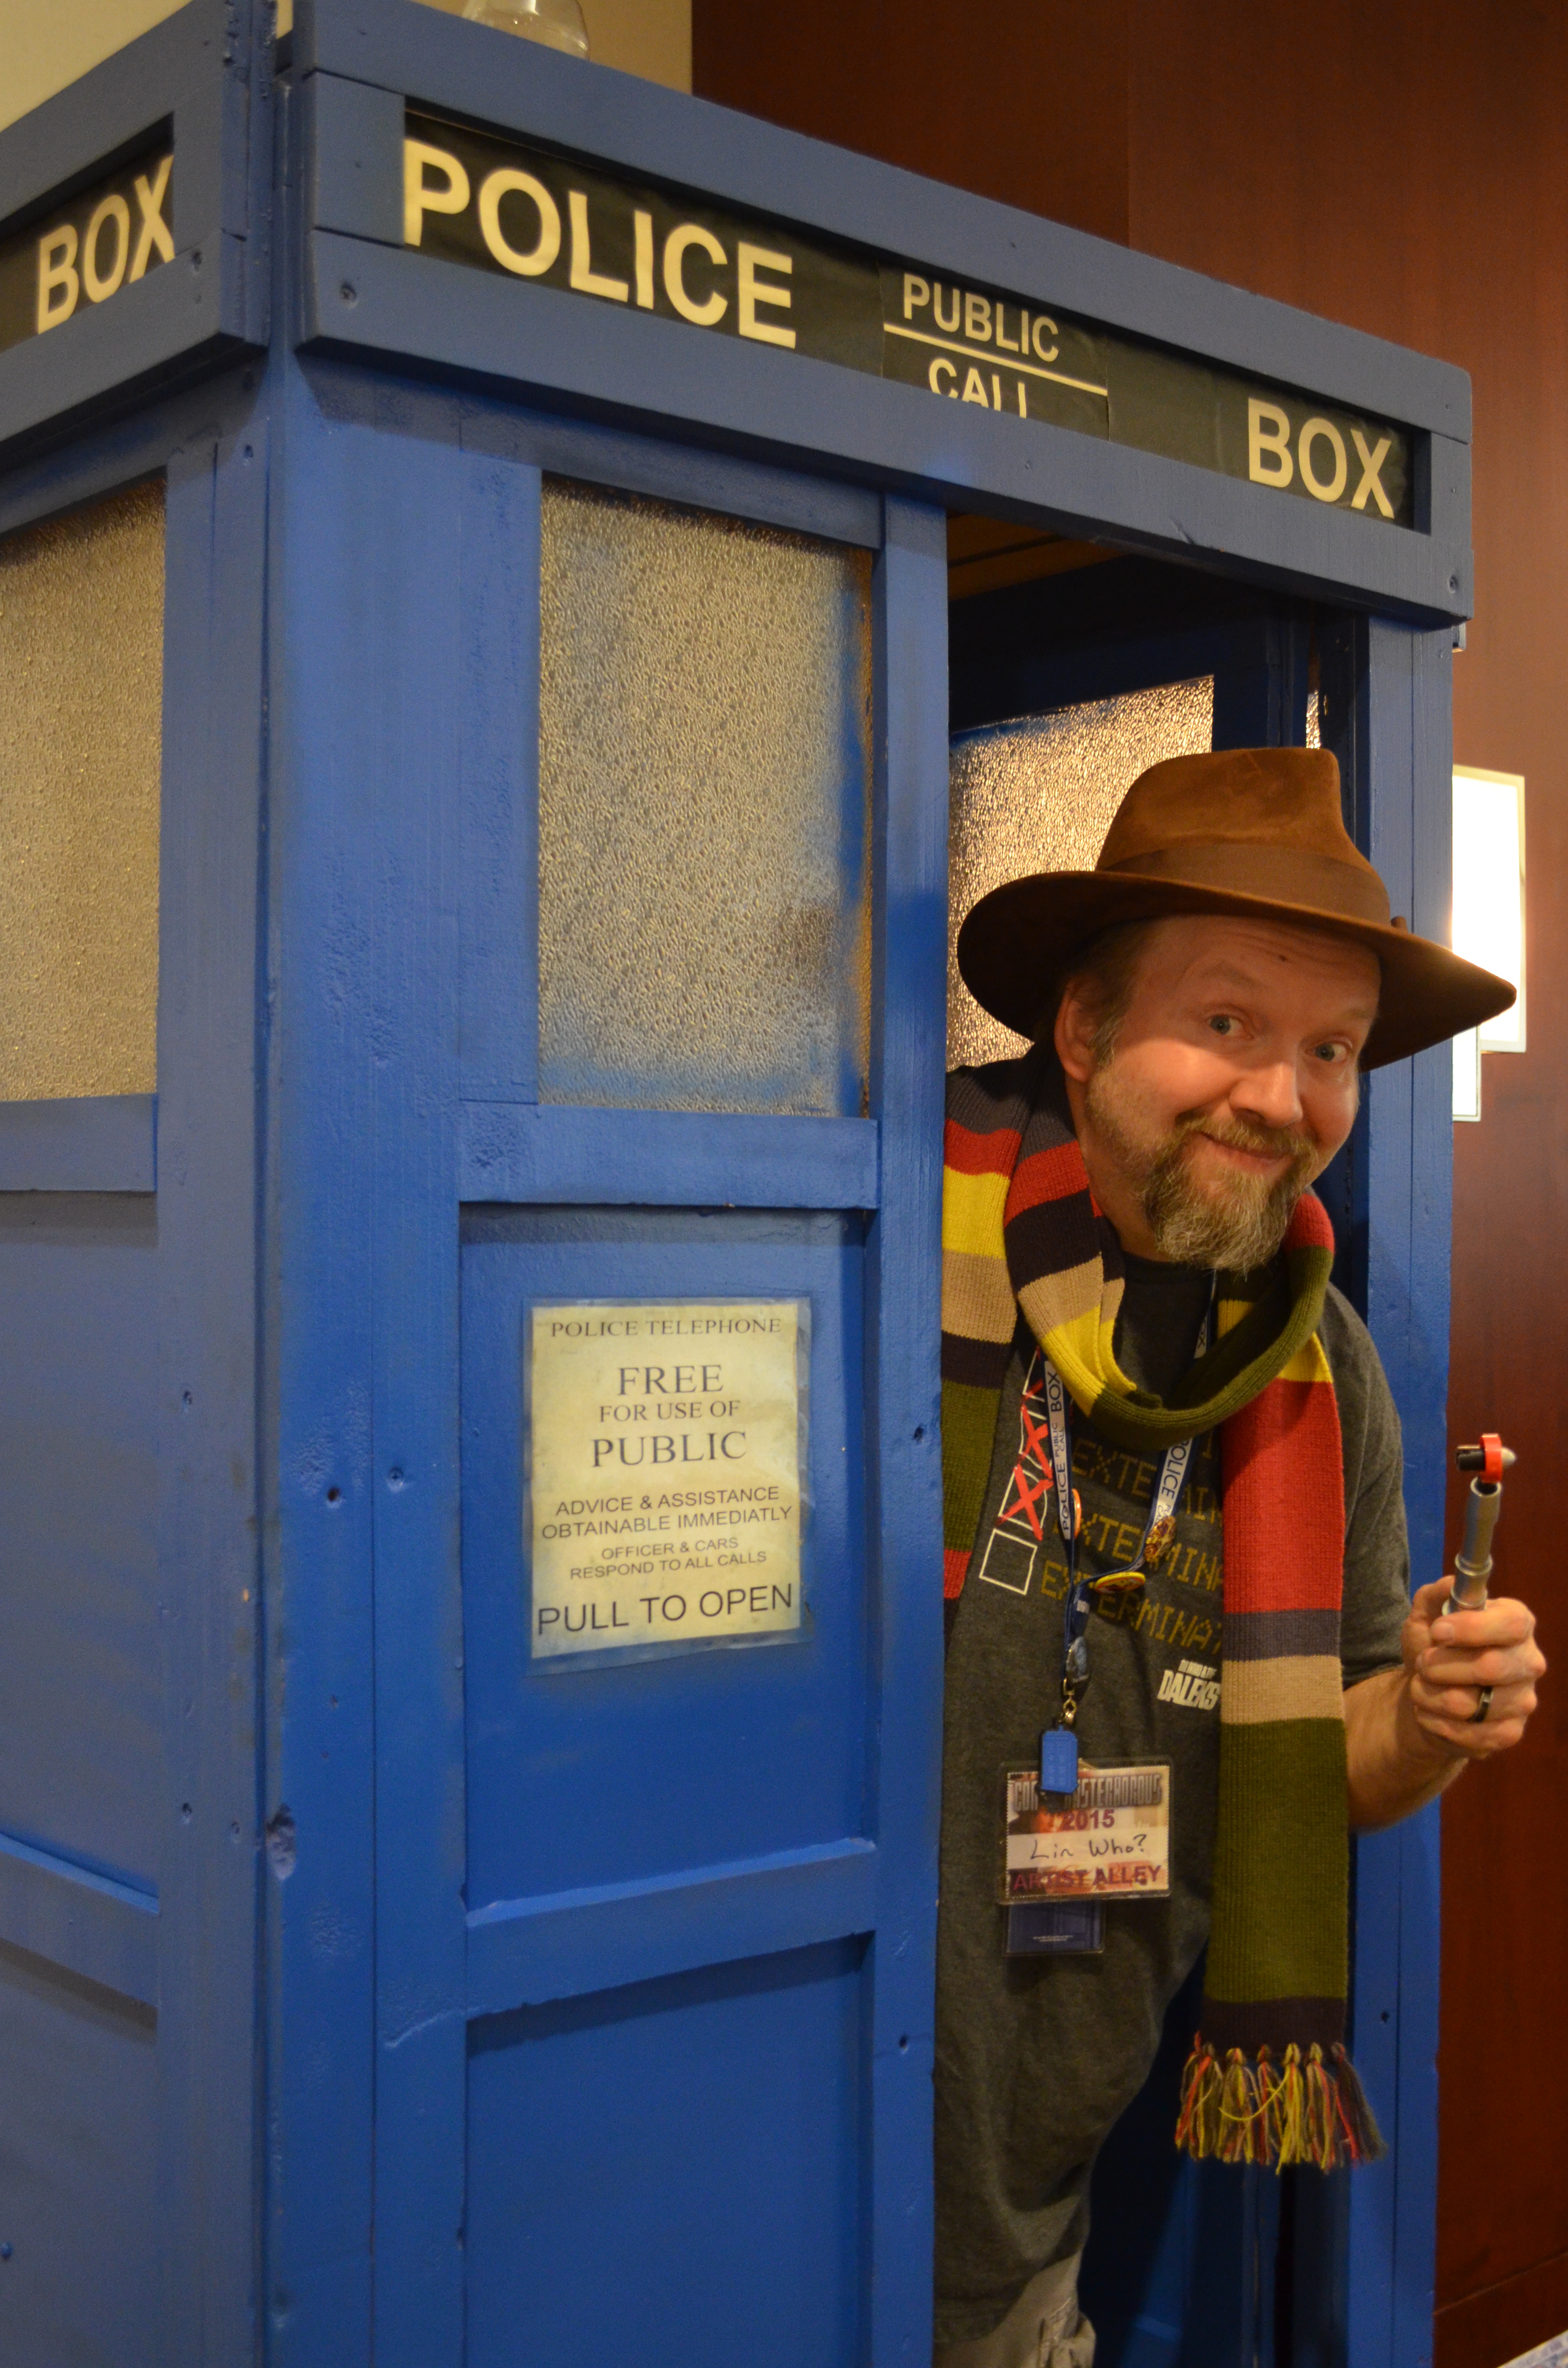
We’ve been going to ConKasterborous in Huntsville, AL since 2014, and I set up there in Artists Alley in 2015. We hadn’t cosplayed those first two times to the convention. Just wore our geek tees. It’s a smaller show, but has great guests and a ton of great cosplayers of all ages and from all seasons/series of Doctor Who.
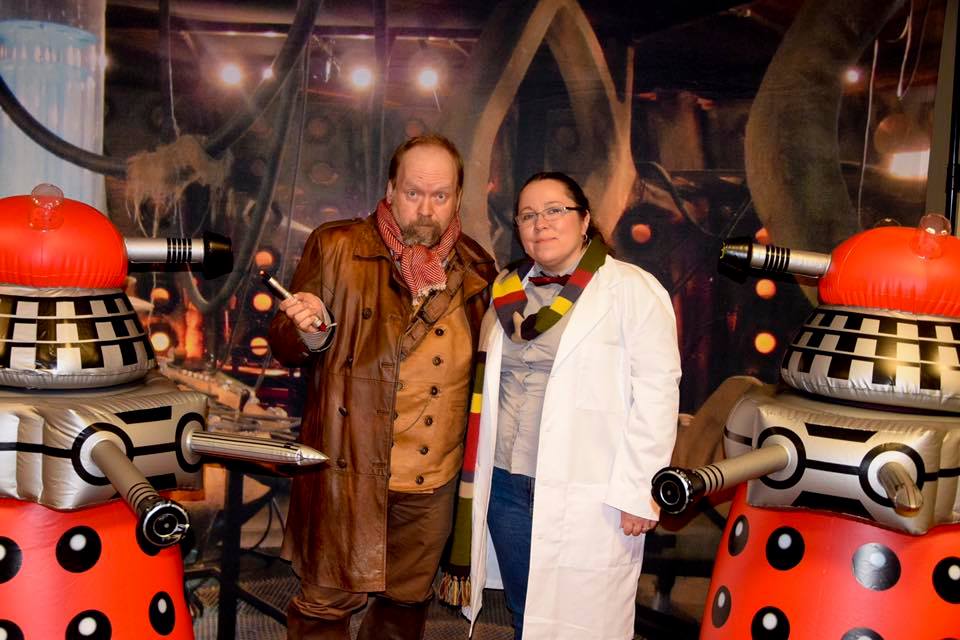
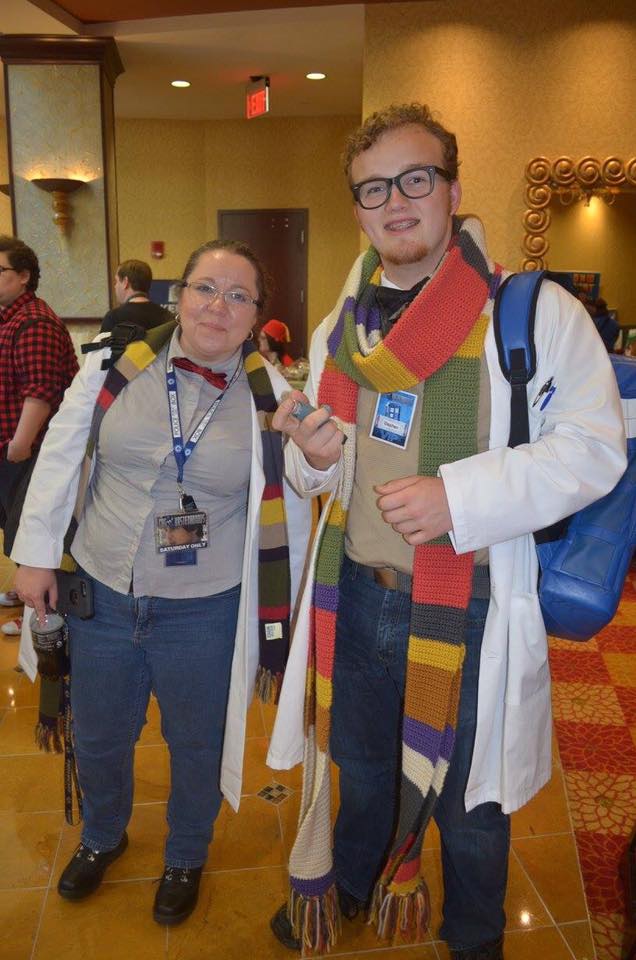
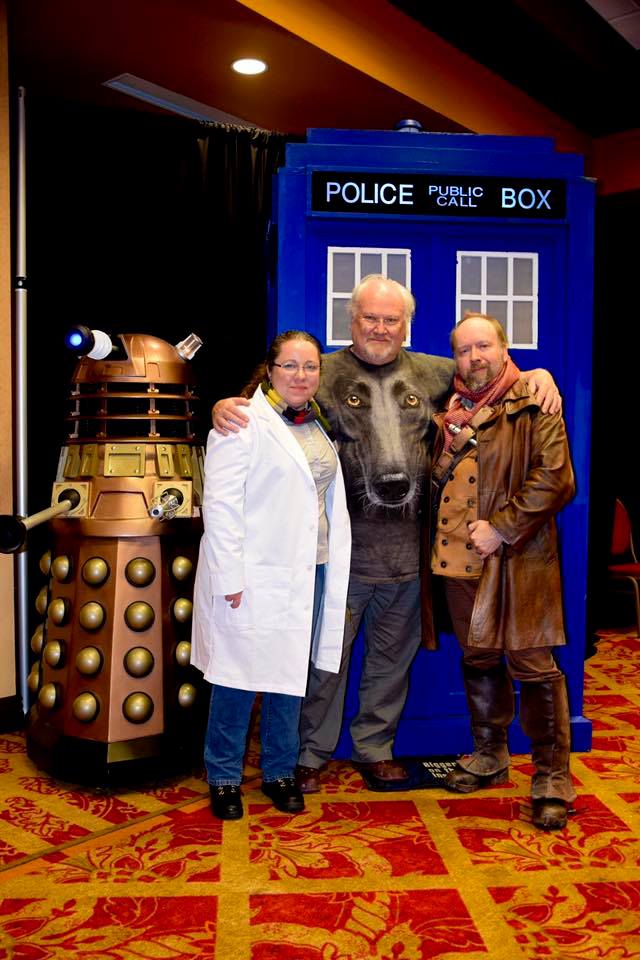
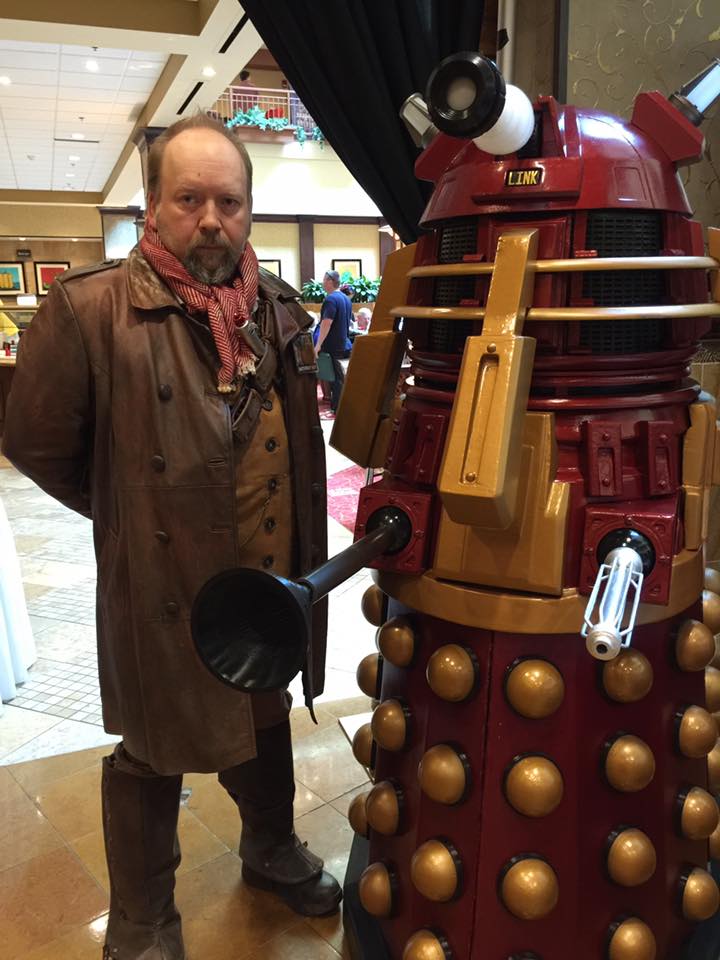
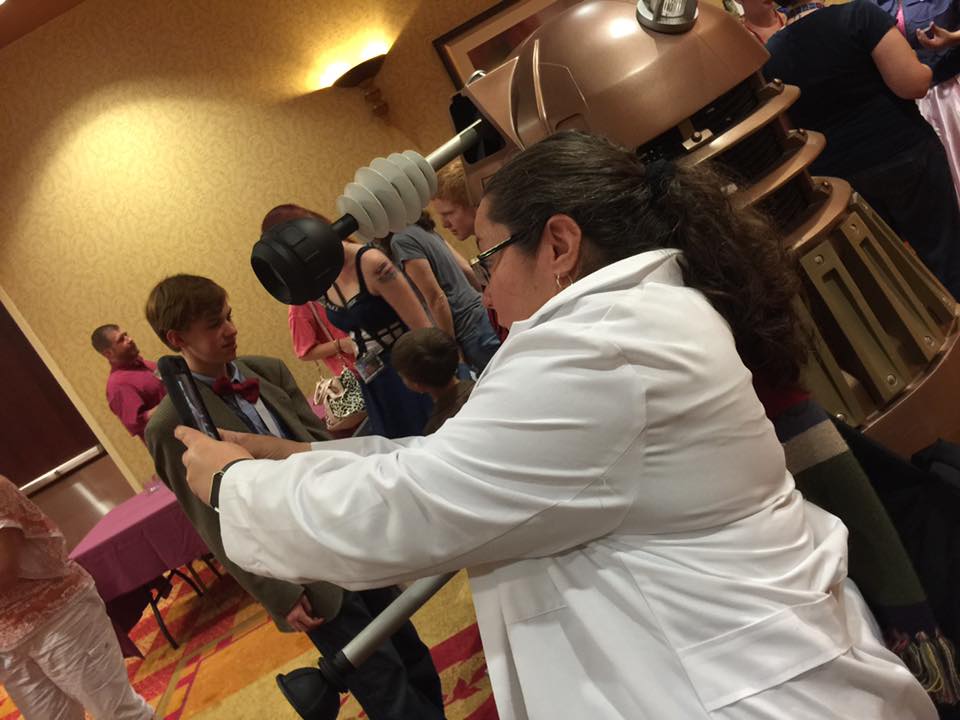
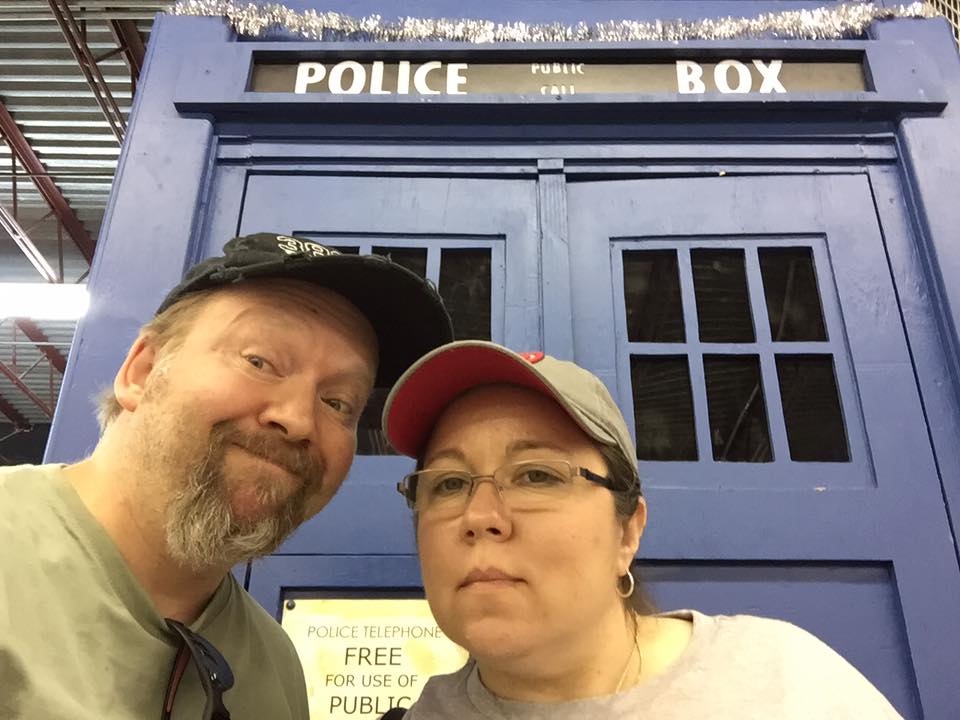
The first time I got to wear my War Doctor costume to a con was at the 2016 ConK. Nicki cosplayed as Osgood who also appeared in The Day of the Doctor. Her costume was pretty easy. She already had the 4th Doctor’s scarf, and I was able to find a lab coat at a uniform shop down the street from my day job- actually really close to the Tandy Leather shop and Hobby Lobby.

We had a blast cosplaying at ConK. Unfortunately it was in June in Alabama, so it was definitely hot (around 100 degrees and humid) and was not a good idea to wear a leather jacket! I tried to take breaks, sit down, take off the jacket and scarf, and re-hydrate as often as possible. We didn’t push ourselves and that made it much more enjoyable.
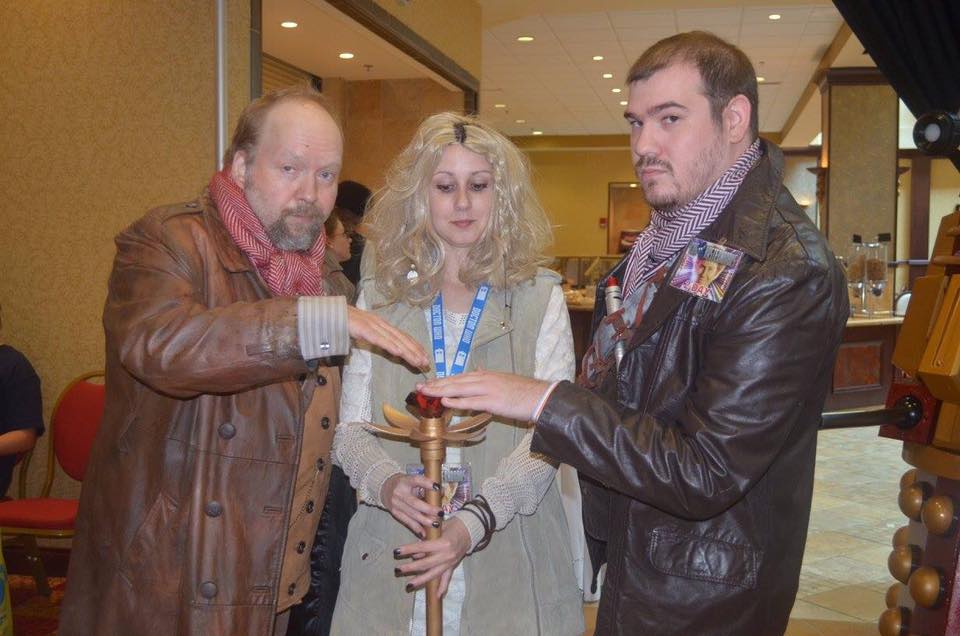
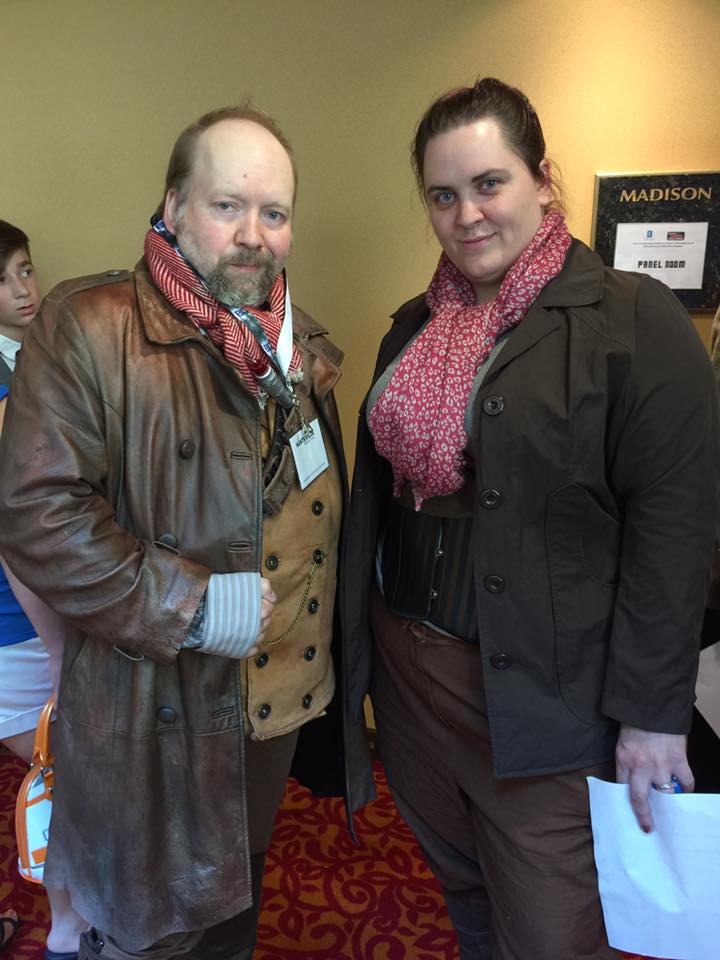
I ran into several War Doctors at the con, and I even ran into a female one. We all swapped info on how we put our costumes together. Got a few ideas on how to improve mine.
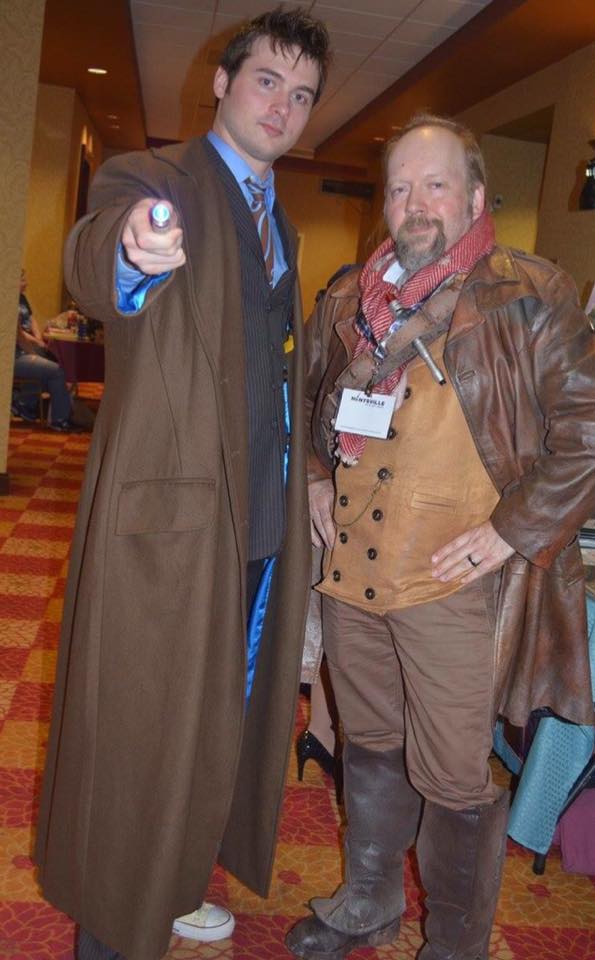
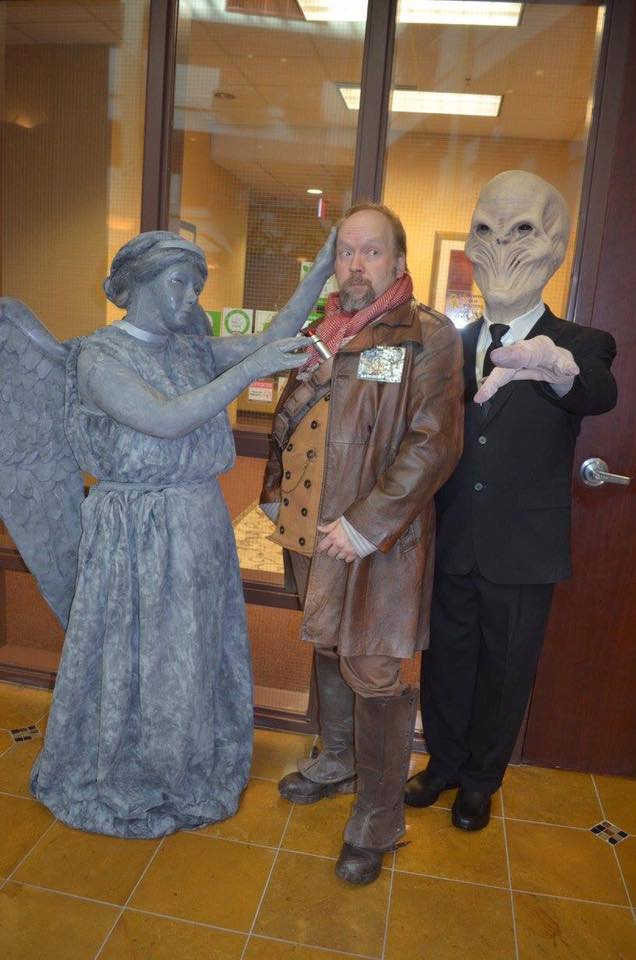
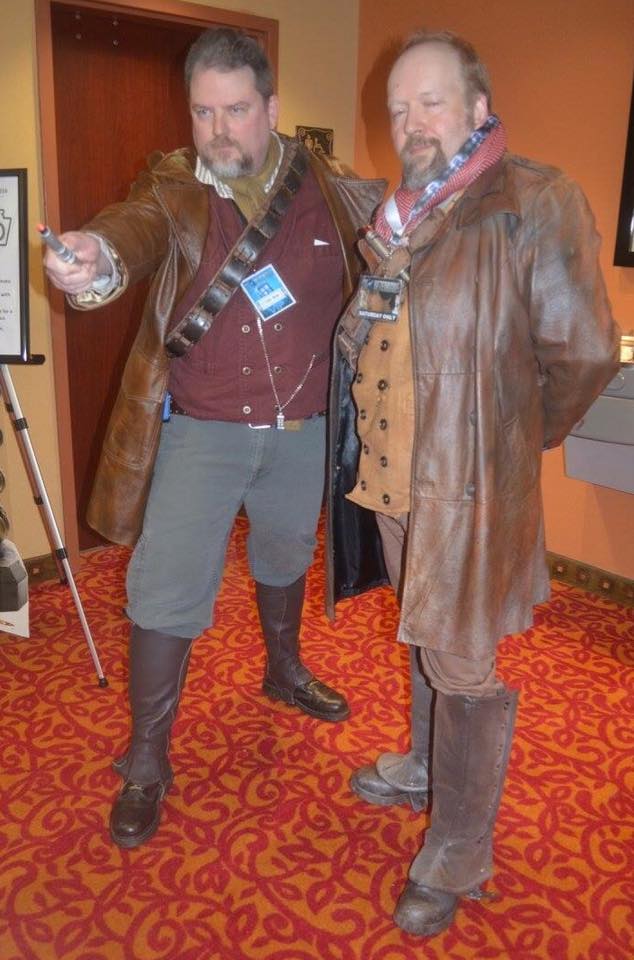
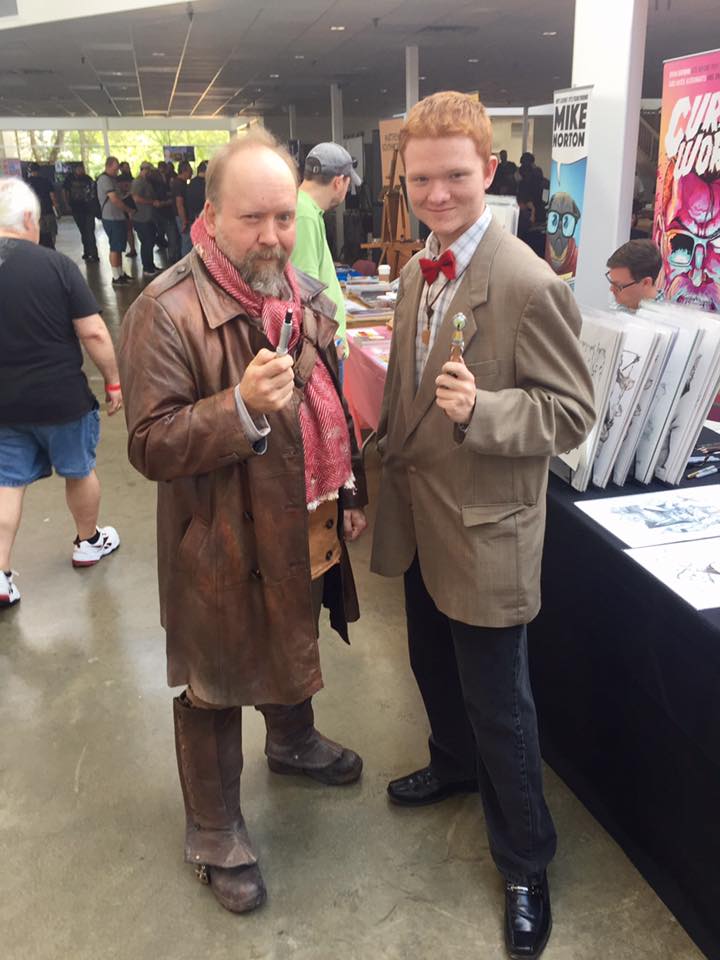
Nicki found a male Osgood cosplayer, and “Sandshoes” and “Granddad” ran into each other again.
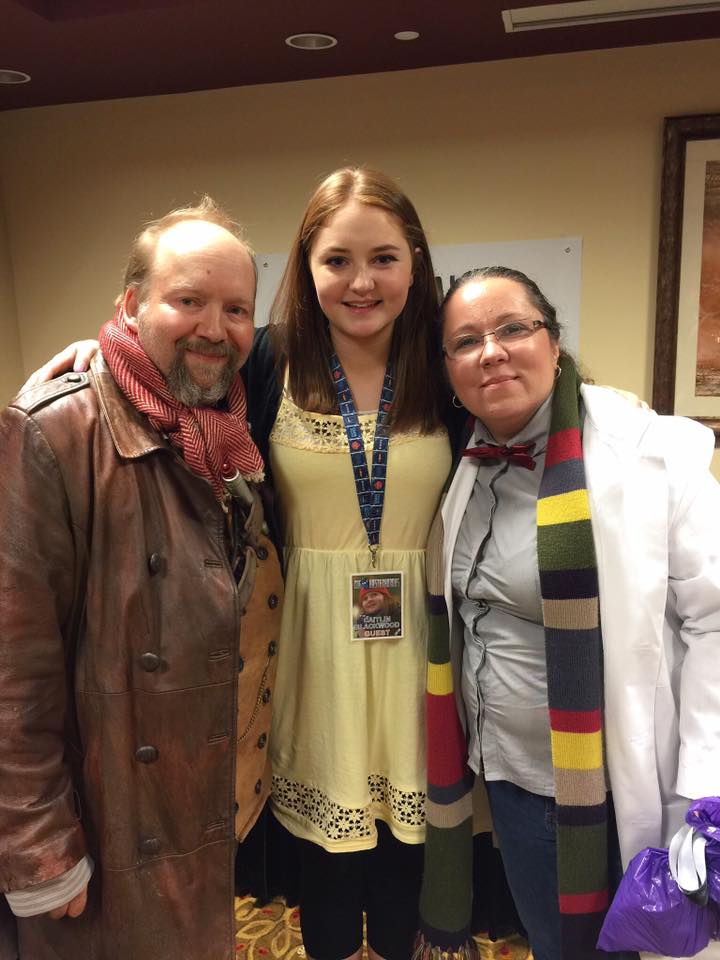
We also met several of the guest celebs at the con. Caitlin Blackwood who played young Amelia Pond with the 11th Doctor. Caitlin is actually a cousin of Karen Gillan who plays the adult Amy Pond. They are probably close in height these days! We also met the 6th Doctor himself- Colin Baker. He was a hoot!

We also met Frazer Hines who played Jamie McCrimmon, a companion of the 2nd Doctor. He was rocking a rad kilt.
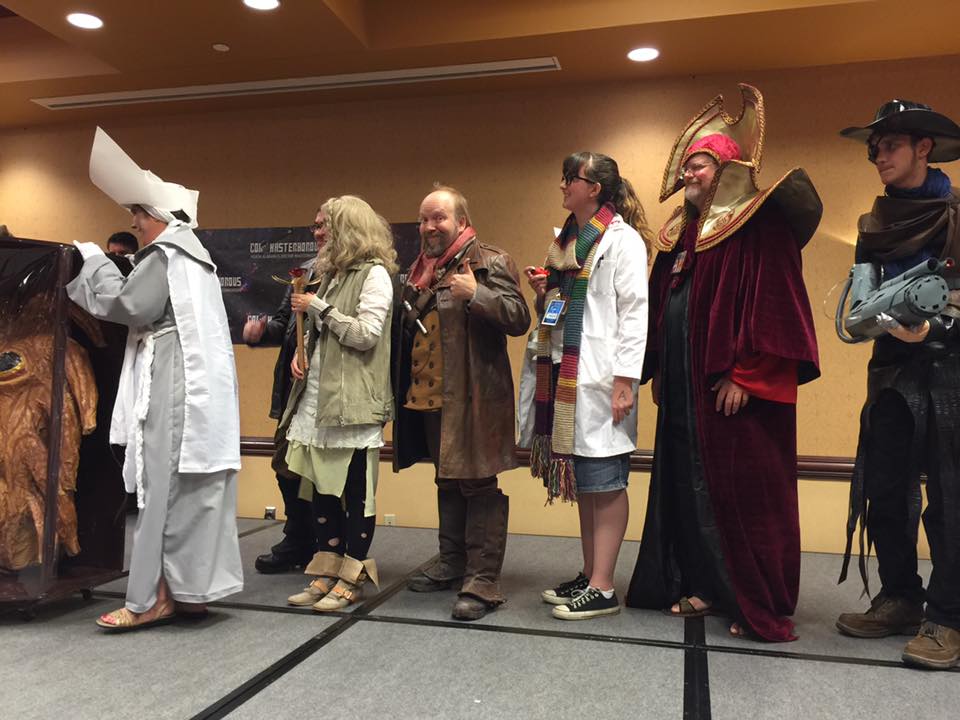
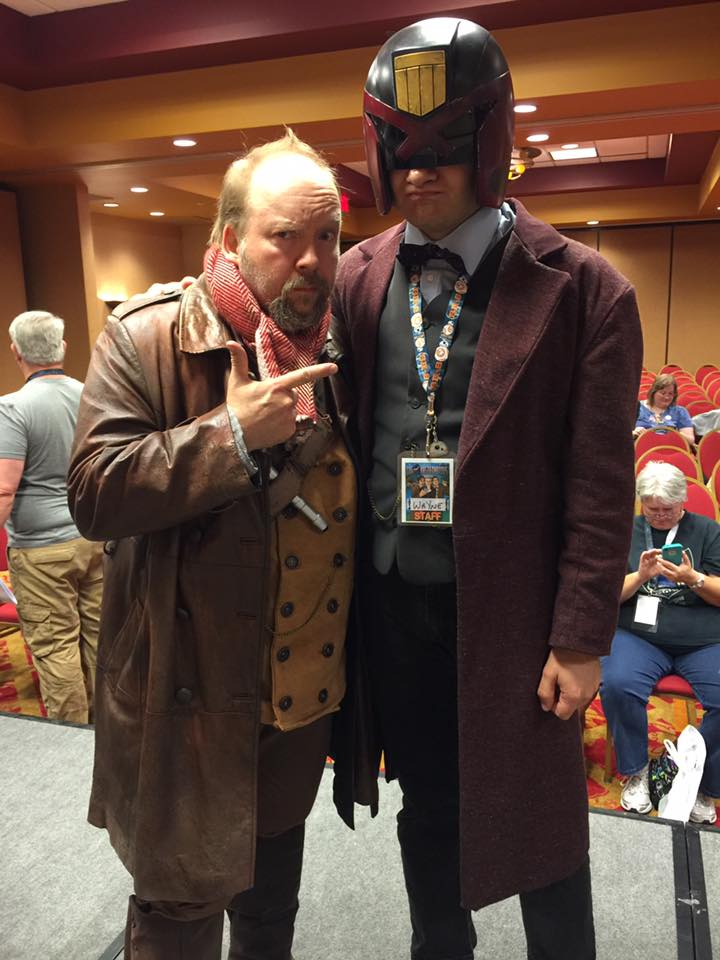
I decided to enter the costume contest. There were some really awesome ones there. During the prejudging earlier in the day the judges were surprised to find out that my jacked was originally black. I showed them the inside and they said, “Well done!”
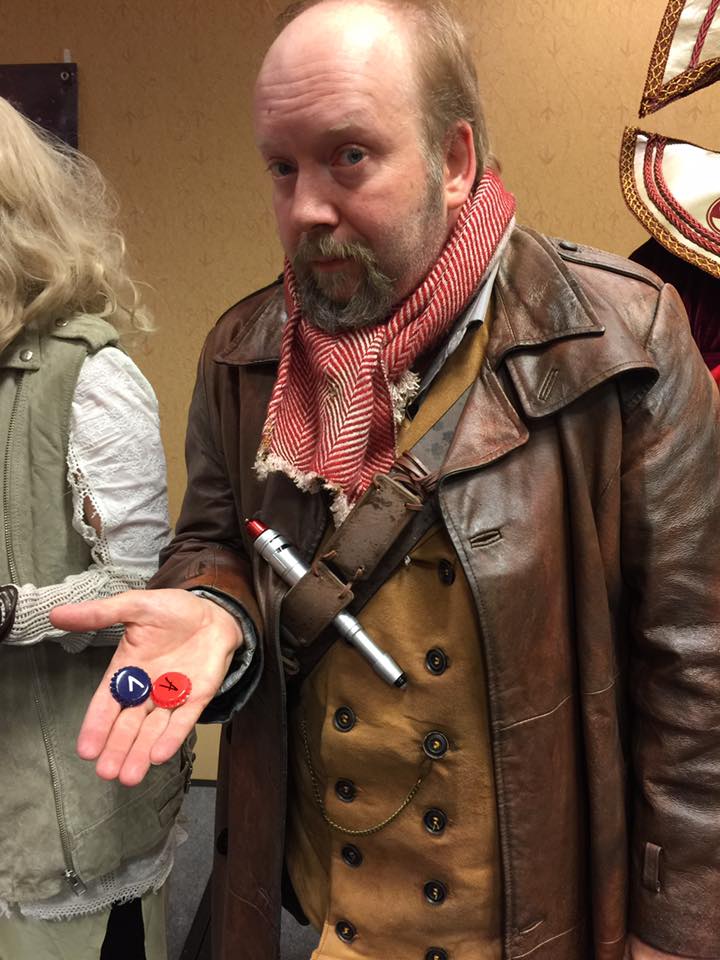
Apparently it was good enough to win me “Best Doctor” in the contest. Not bad for my first Dr. Who costume! We got some prize tokens to spend in the dealers room- I bought some POP!s and buttons.
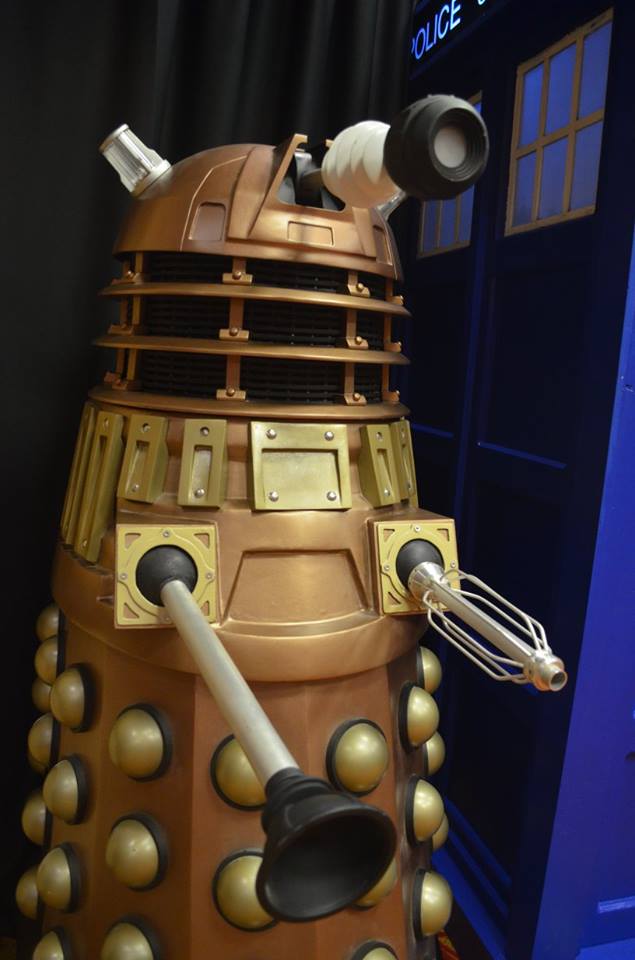
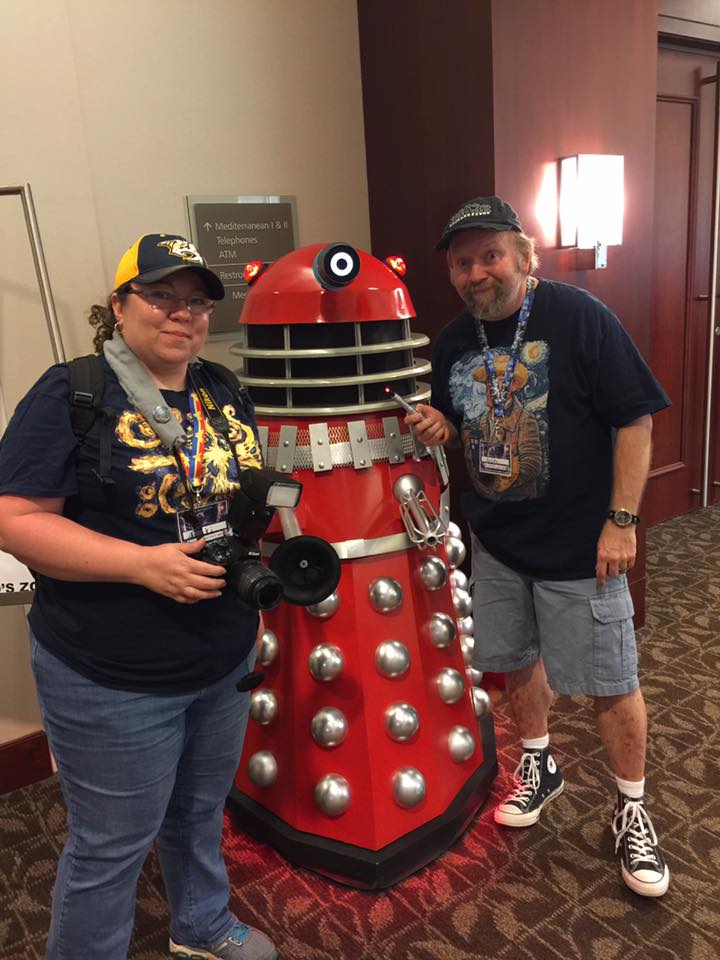
One of the judges was Wayne Neumaier (AKA A7L Props), who is a real rocket scientist and has built his own Dalek, R2-D2, and BB-8, Rocketeer jetpack, and more. He’s currently working on a Chopper droid from Star Wars: Rebels.
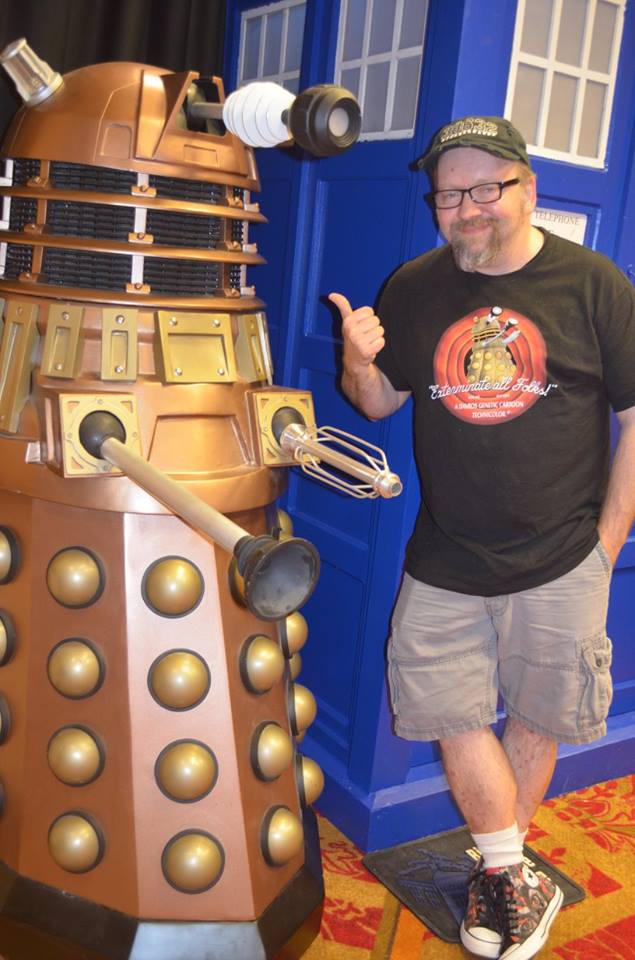
Wayne’s Dalek “Braun” (left) is fully radio controlled and one of many styles of Daleks you may encounter at ConK.
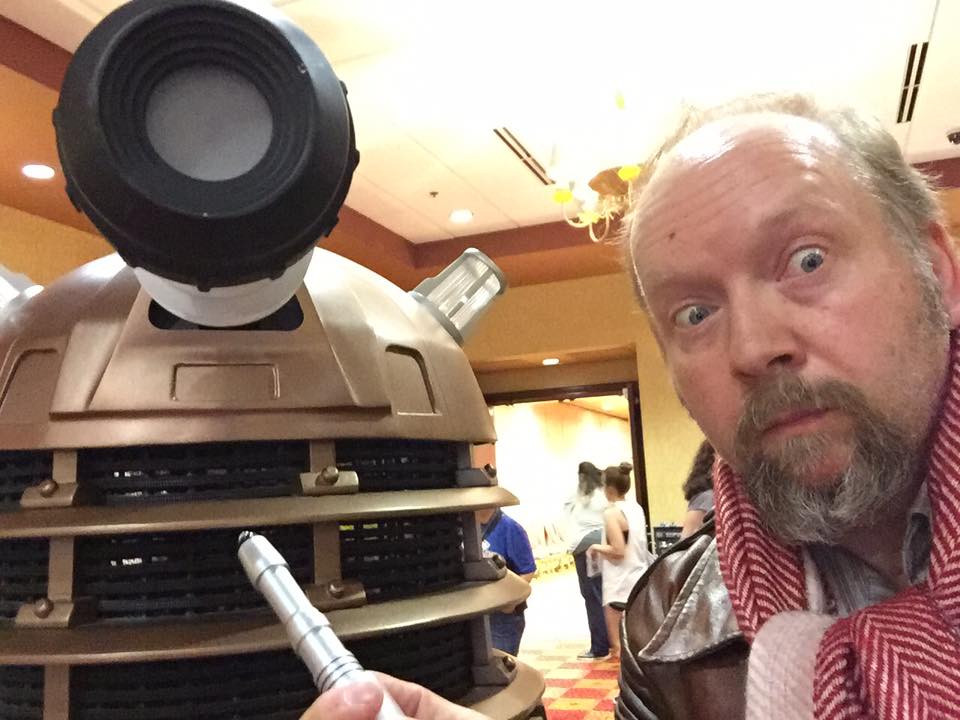
You can even take a selfie with one!

We went back to ConK the following year, and I wore the War Doctor costume again.

That year we got to meet Peter Davison– the 5th Doctor!
I’ve also worn the costume to the Delta Fan Fest in Southaven, MS and the Memphis Comic Expo. Both were in the fall so it was much more comfortable to wear the costume then.
Have got a couple ideas for more Doctor Who costumes, and will share how I do them here. Will also be working on some new Doctor Who sketchcovers. You can see more of my cosplay, Doctor Who art, and our time travels together in the links below.
Hope you all enjoyed this blog, and the new Doctor Who New Year’s Day Special!
Happy New Year- type at ya later!
Lin
“This Means War”- My Doctor Who War Doctor cosplay Part 1
WHO-dunnit…Cosplay Adventures and Celebrity Encounters at Con Kasterborous 2015!
Knock-knock! Who’s there? Doctor! Doctor Who..?! (and Superman Celebration tees)
“Rorschach’s Journal: April 1st, 2017. How I Created My Rorschach Cosplay- No Foolin’.”
Comments are closed.